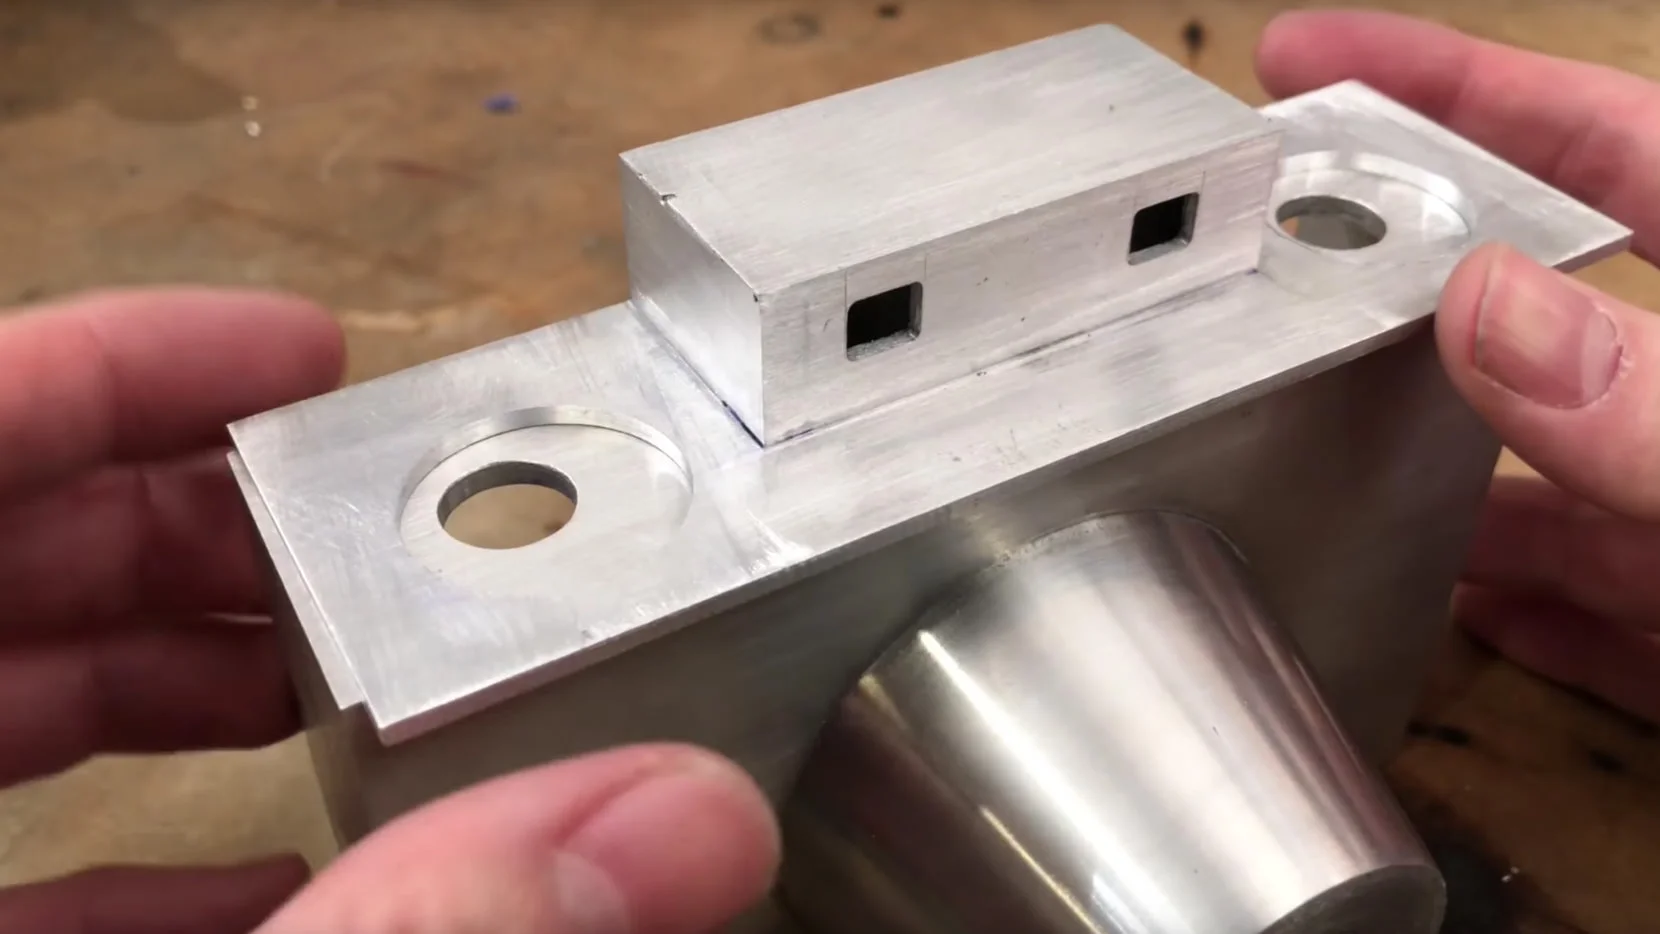
The pattern for the lens cone next to the completed cone. The pattern is designed on the computer and then 3D printed.
Making the Sand Molds. The red sand you see is Petrobond.
I use an electric kiln to meld down Scrap.
The Melted aluminum is poured into the sand mold previously prepared.
The mold is now left to cool naturally.
A successful pour. It usually takes several tries to get a perfect one.
In its raw state it looks like a mess. Lots of clean up is required.
To speed the process up I'm using a lathe to machine all the external surfaces.
The part is held on the lathe with a superglue arbor so very light passes are made to ensure it doesn’t come off.
Here is is all machined and polished. I'm using a torch to break the super glue that is holding it to the shop made super glue arbor.
Here is the finished cone next to the previous camera I made.
Here are the parts that make up the main body. They are all cut to size and I use a jig to line them all up.
the parts are TIG welded together.
I Actually just started learning how to weld so it looks a little rough.
I use a router with a flush trim bit to lean the welds welds up.
The finished box.
I use a rotary table on my mill to cut a bit hole in the middle.
The nose cone will be inserted into this hole.
The cone is a press fit in the hole. Nothing but friction. I heat the body up to make it expand slightly and I freeze the cone to make it shrink a bit. when they are but together they temperature equalizes and they become permanently bonded.
Next is the top cap. Once again the pattern is design and printed and a mold is made to cast in aluminum
Here are the sand molds
The cast wasn't perfect but I used my new found tig welding skills to repair small defects.
The Outside is completely machined on the mill.
All features are marked out.
Two holes are cut to accept the film advance knobs that I'll make later.
A small end mill is used to cut out the viewing windows.
Here is the top cap on the main body.
This is the range finder that will be installed in the top cap in the end of the project.
This part will become the tripod mount. A 1/4-20 thread will be added to the center and the edges rounded.
Here it is in a near complete state.
Featured
Added to the body. There will be two holes drilled where the cross marks are. That way I can screw this part on.
Now I have to weld the film plane together.First a square piece of aluminum is cut with a 60mm square opening in the middle. Two sides are also cut and welded on.
The walls are very thin on this part so I have to make to welds as fast as possible to stop the parts from melting and/or warping.
Here it is right after the welding.
The top is machined flat and the corners are ground smooth.
This part will eventually become the film advance knob.
I make lots of small pieces of hardware. Including shafts, bushings and the camera strap mounts.
Here is everything I have made up until now.
Now its time to make a back door and hinge. I cut three pieces of aluminum tube and weld them onto the body.
Here is the door closed.
Here is the door open.
This part will become part of a viewing window that Will be added to the back door so I can see the frame number of the film.
Here is the finished part. It slides back and forth to open that window.
Adding it to the back door.
The finished back door.
All the welds smoothed out on the hinge.
How the door looks from up high.
This is the pressure plate that will keep the film flat. The two leaf springs are made of a saw I cut up and then bent into that shape. The plate itself is a very thin sheet of brass I cut and drilled a hole in.
I turn the thing black to cut down on light that can reflect around.
To hold the door closed I use magnets. I use three magnets on the body and three on the door.
The inside is painted black.
This parts are what will be holding the film spools. Its made of a steel shaft, a brass film seat, a M3 screw that has been rounded and had a slot filed down the middle and a small piece of brass that has been hammered into that slot.
Here are all the internal components installed.
I also made a little camera strap mount on the lathe that screws into the sides of the camera.
This is the lens I'm using. An Agfa 85mm from the 50s.