Y-Pan 35mm Panoramic Camera
(Short for “Y can’t I afford an X pan” )
Inspiration:
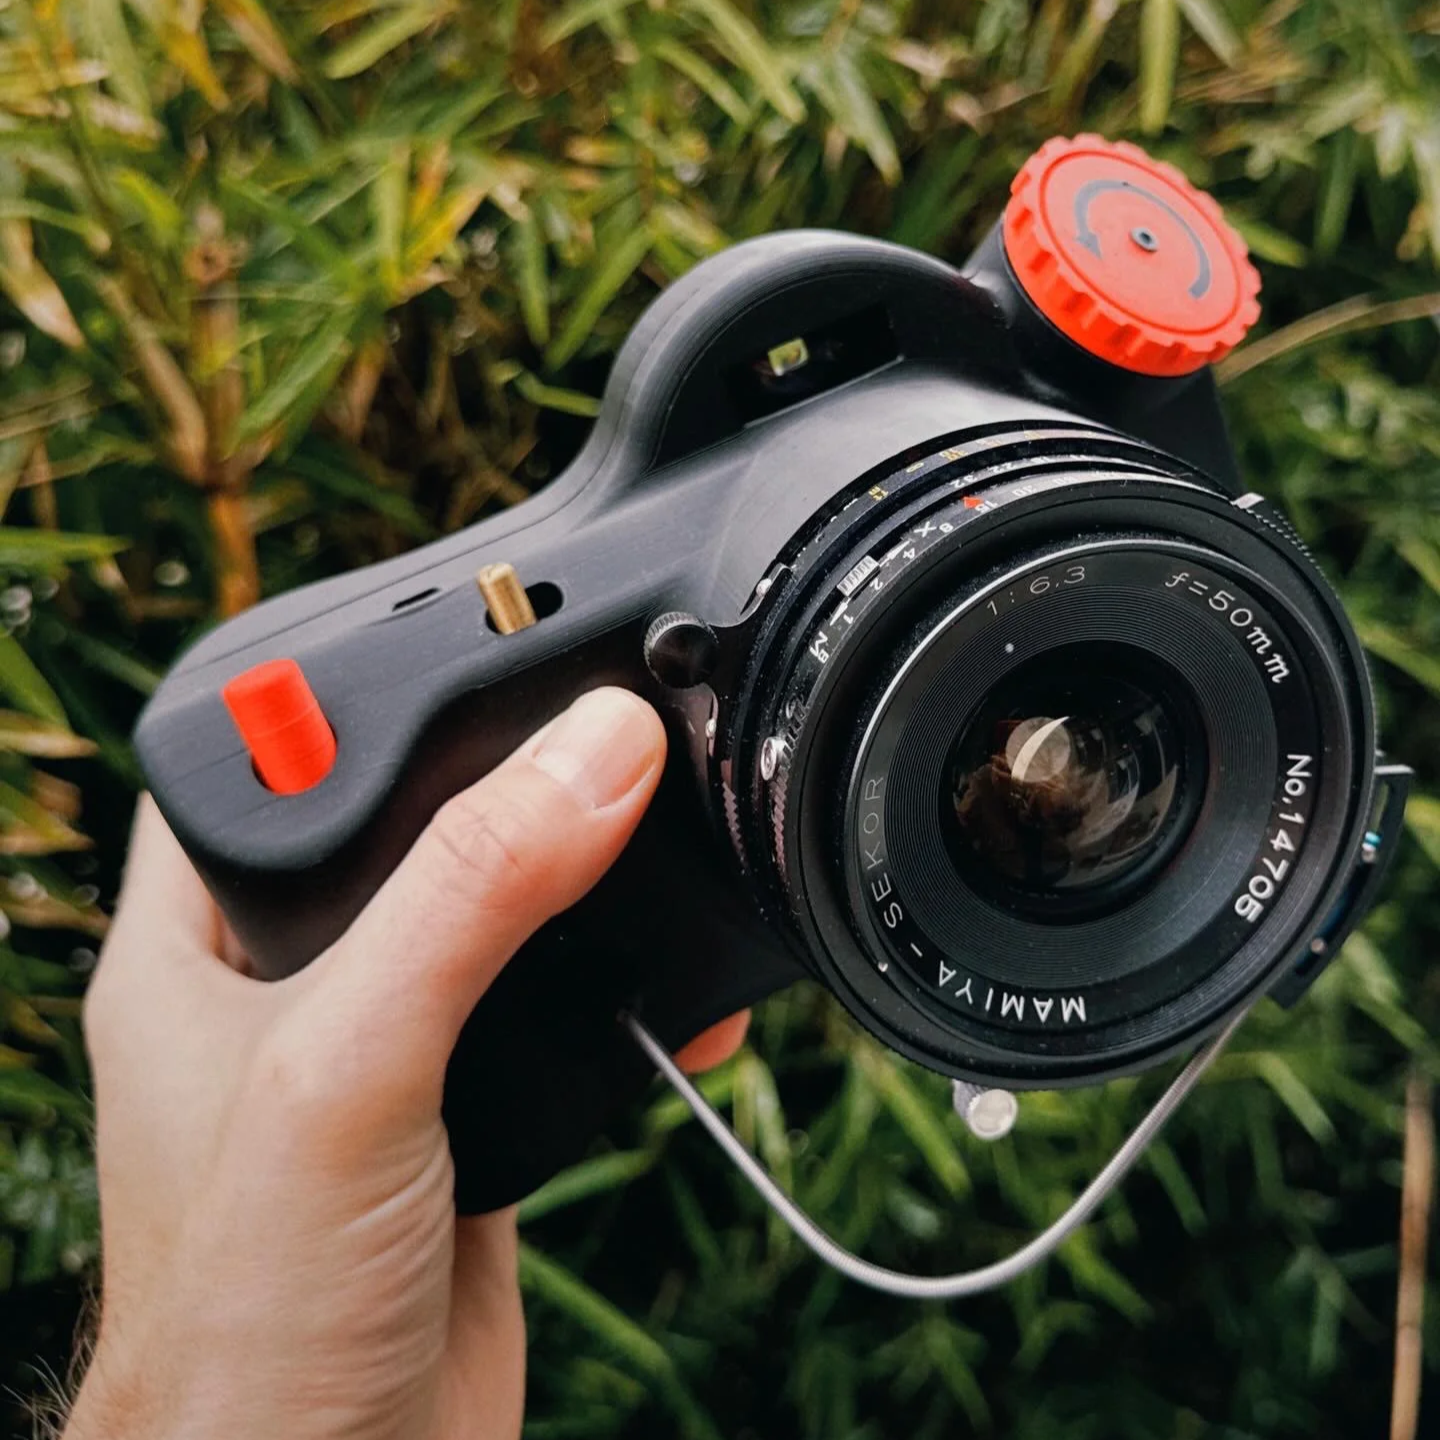
I wanted to capture cinematic style photos with a wider than normal aspect ratio. The camera of choice was the Hasselblad X-Pan, but such a device is unobtainable. So I set out to build my own. I decided to not base the mechanical design of the internals off of any previous camera, as to not limit my design to preconceived notions of how a camera should work.
For design, I drew inspiration from the canon WP-1, my wife’s favorite camera. Primarily I wanted to have a since of “play” in the design.
The Images:
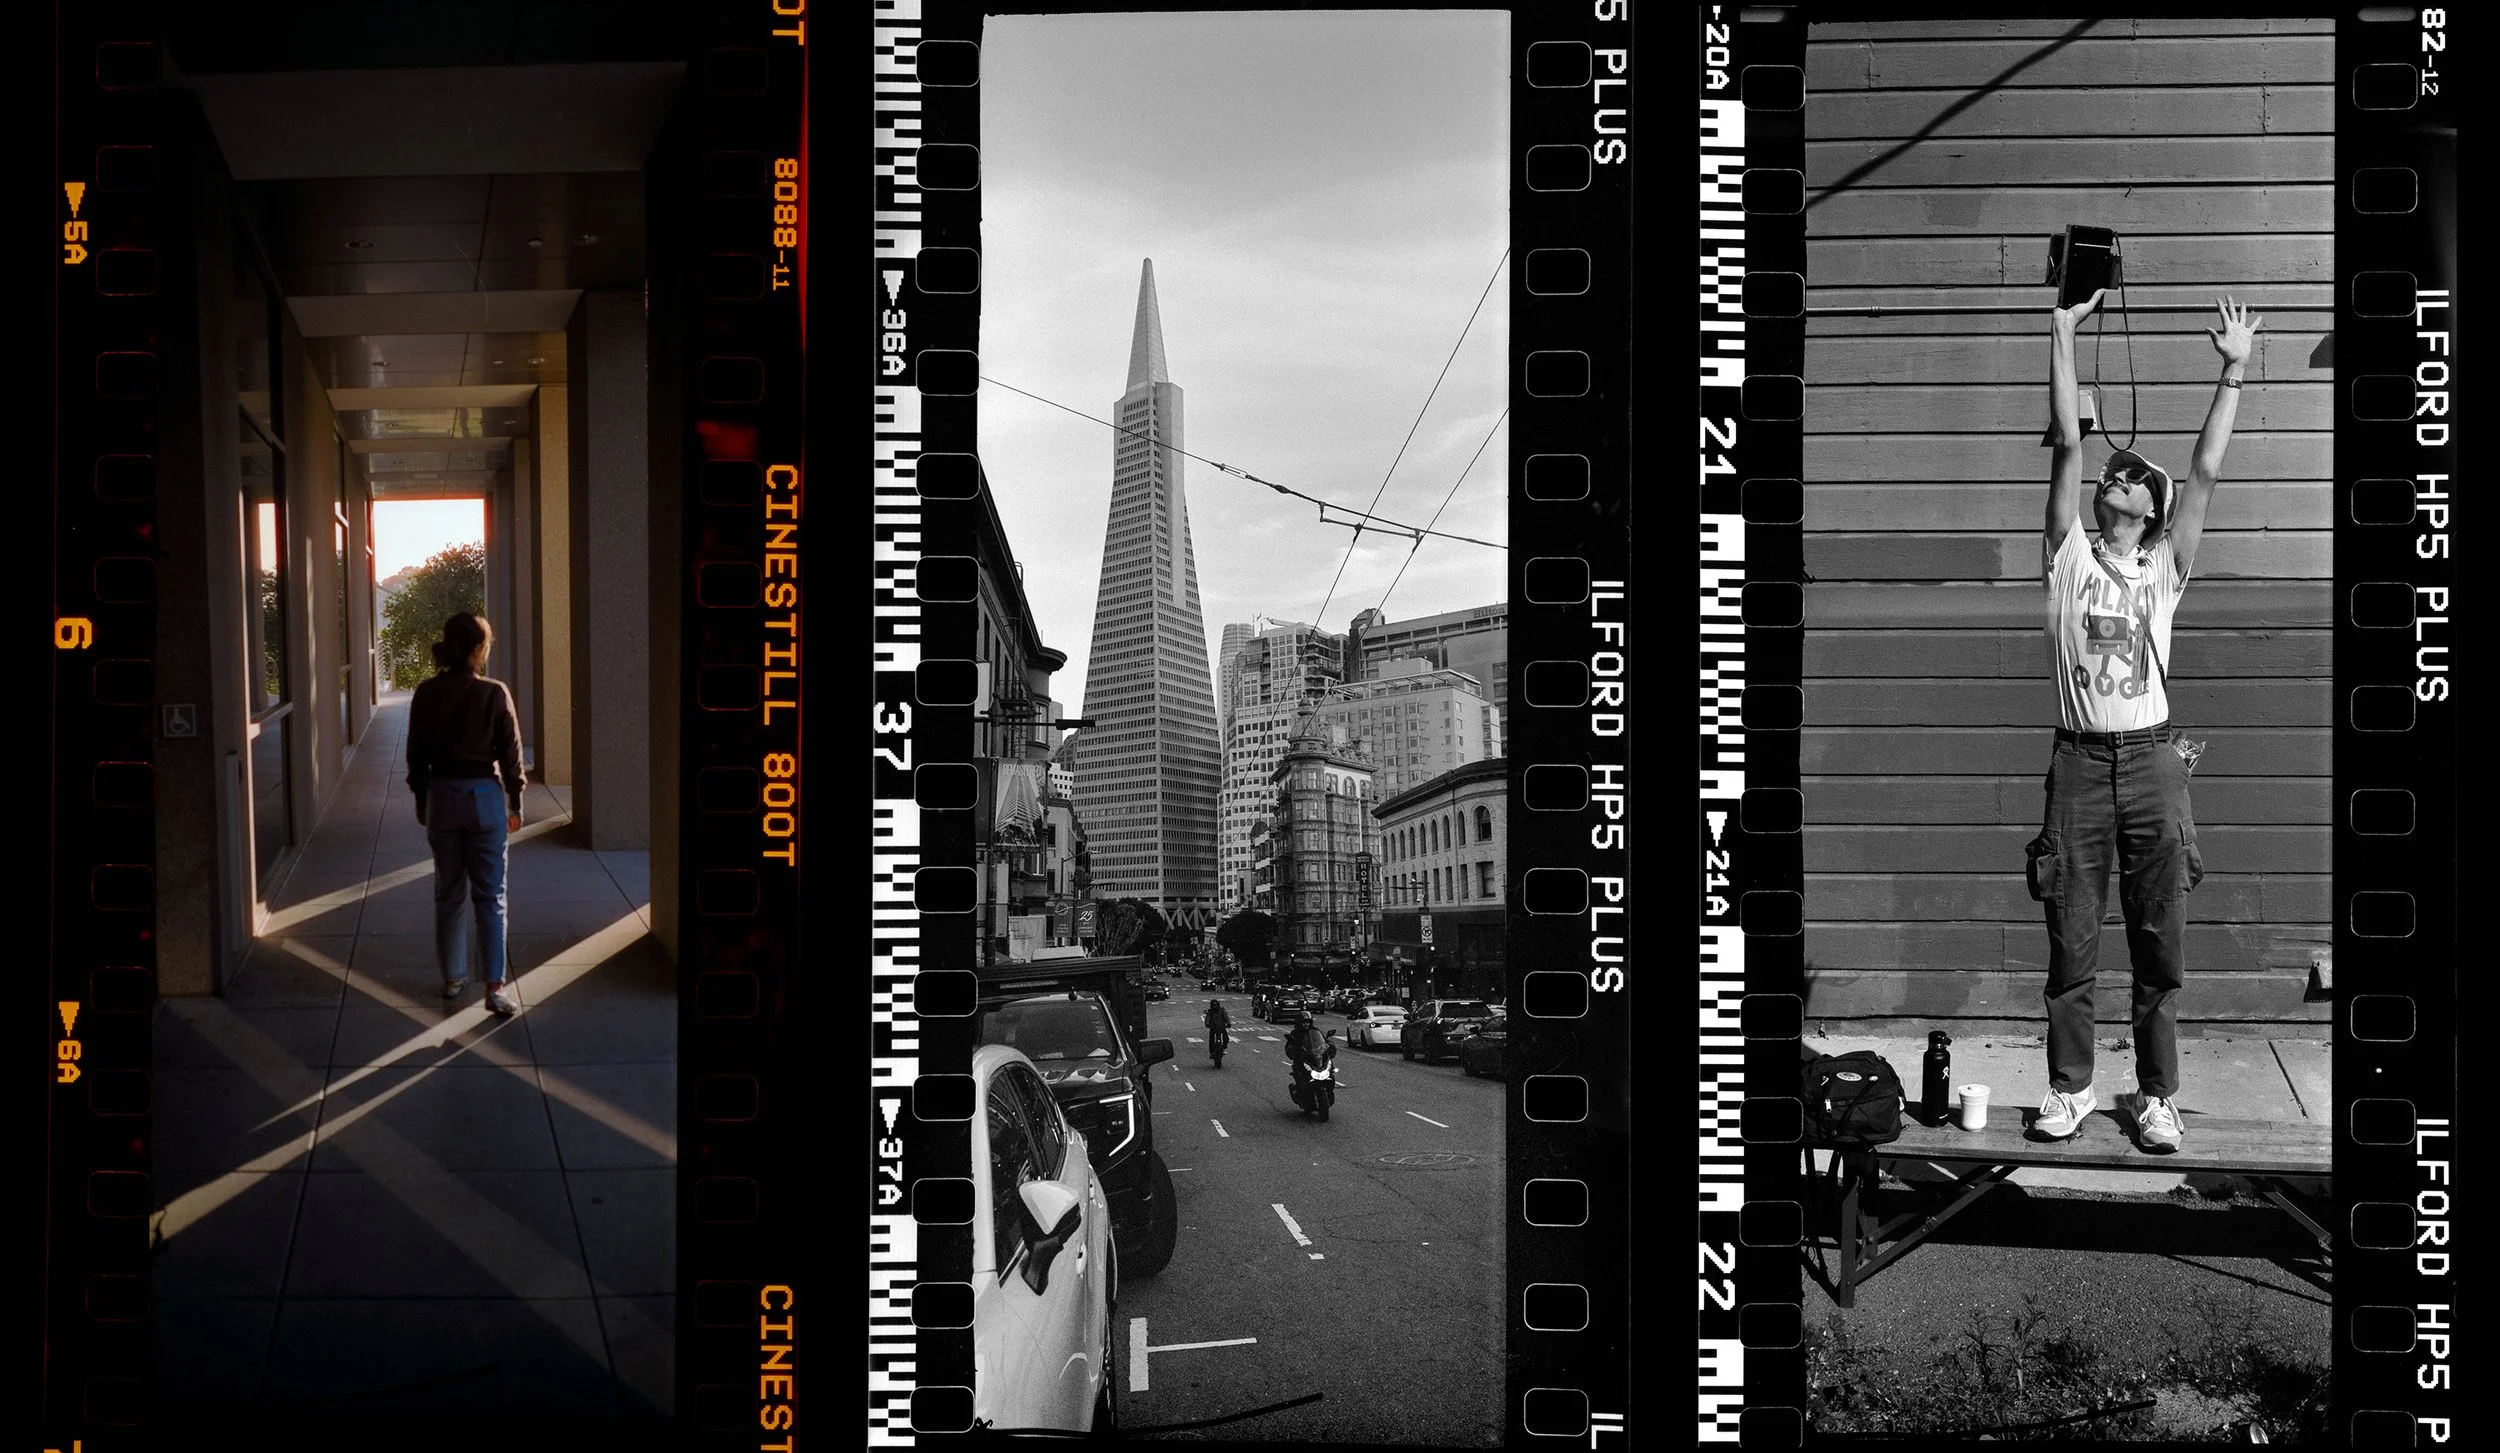
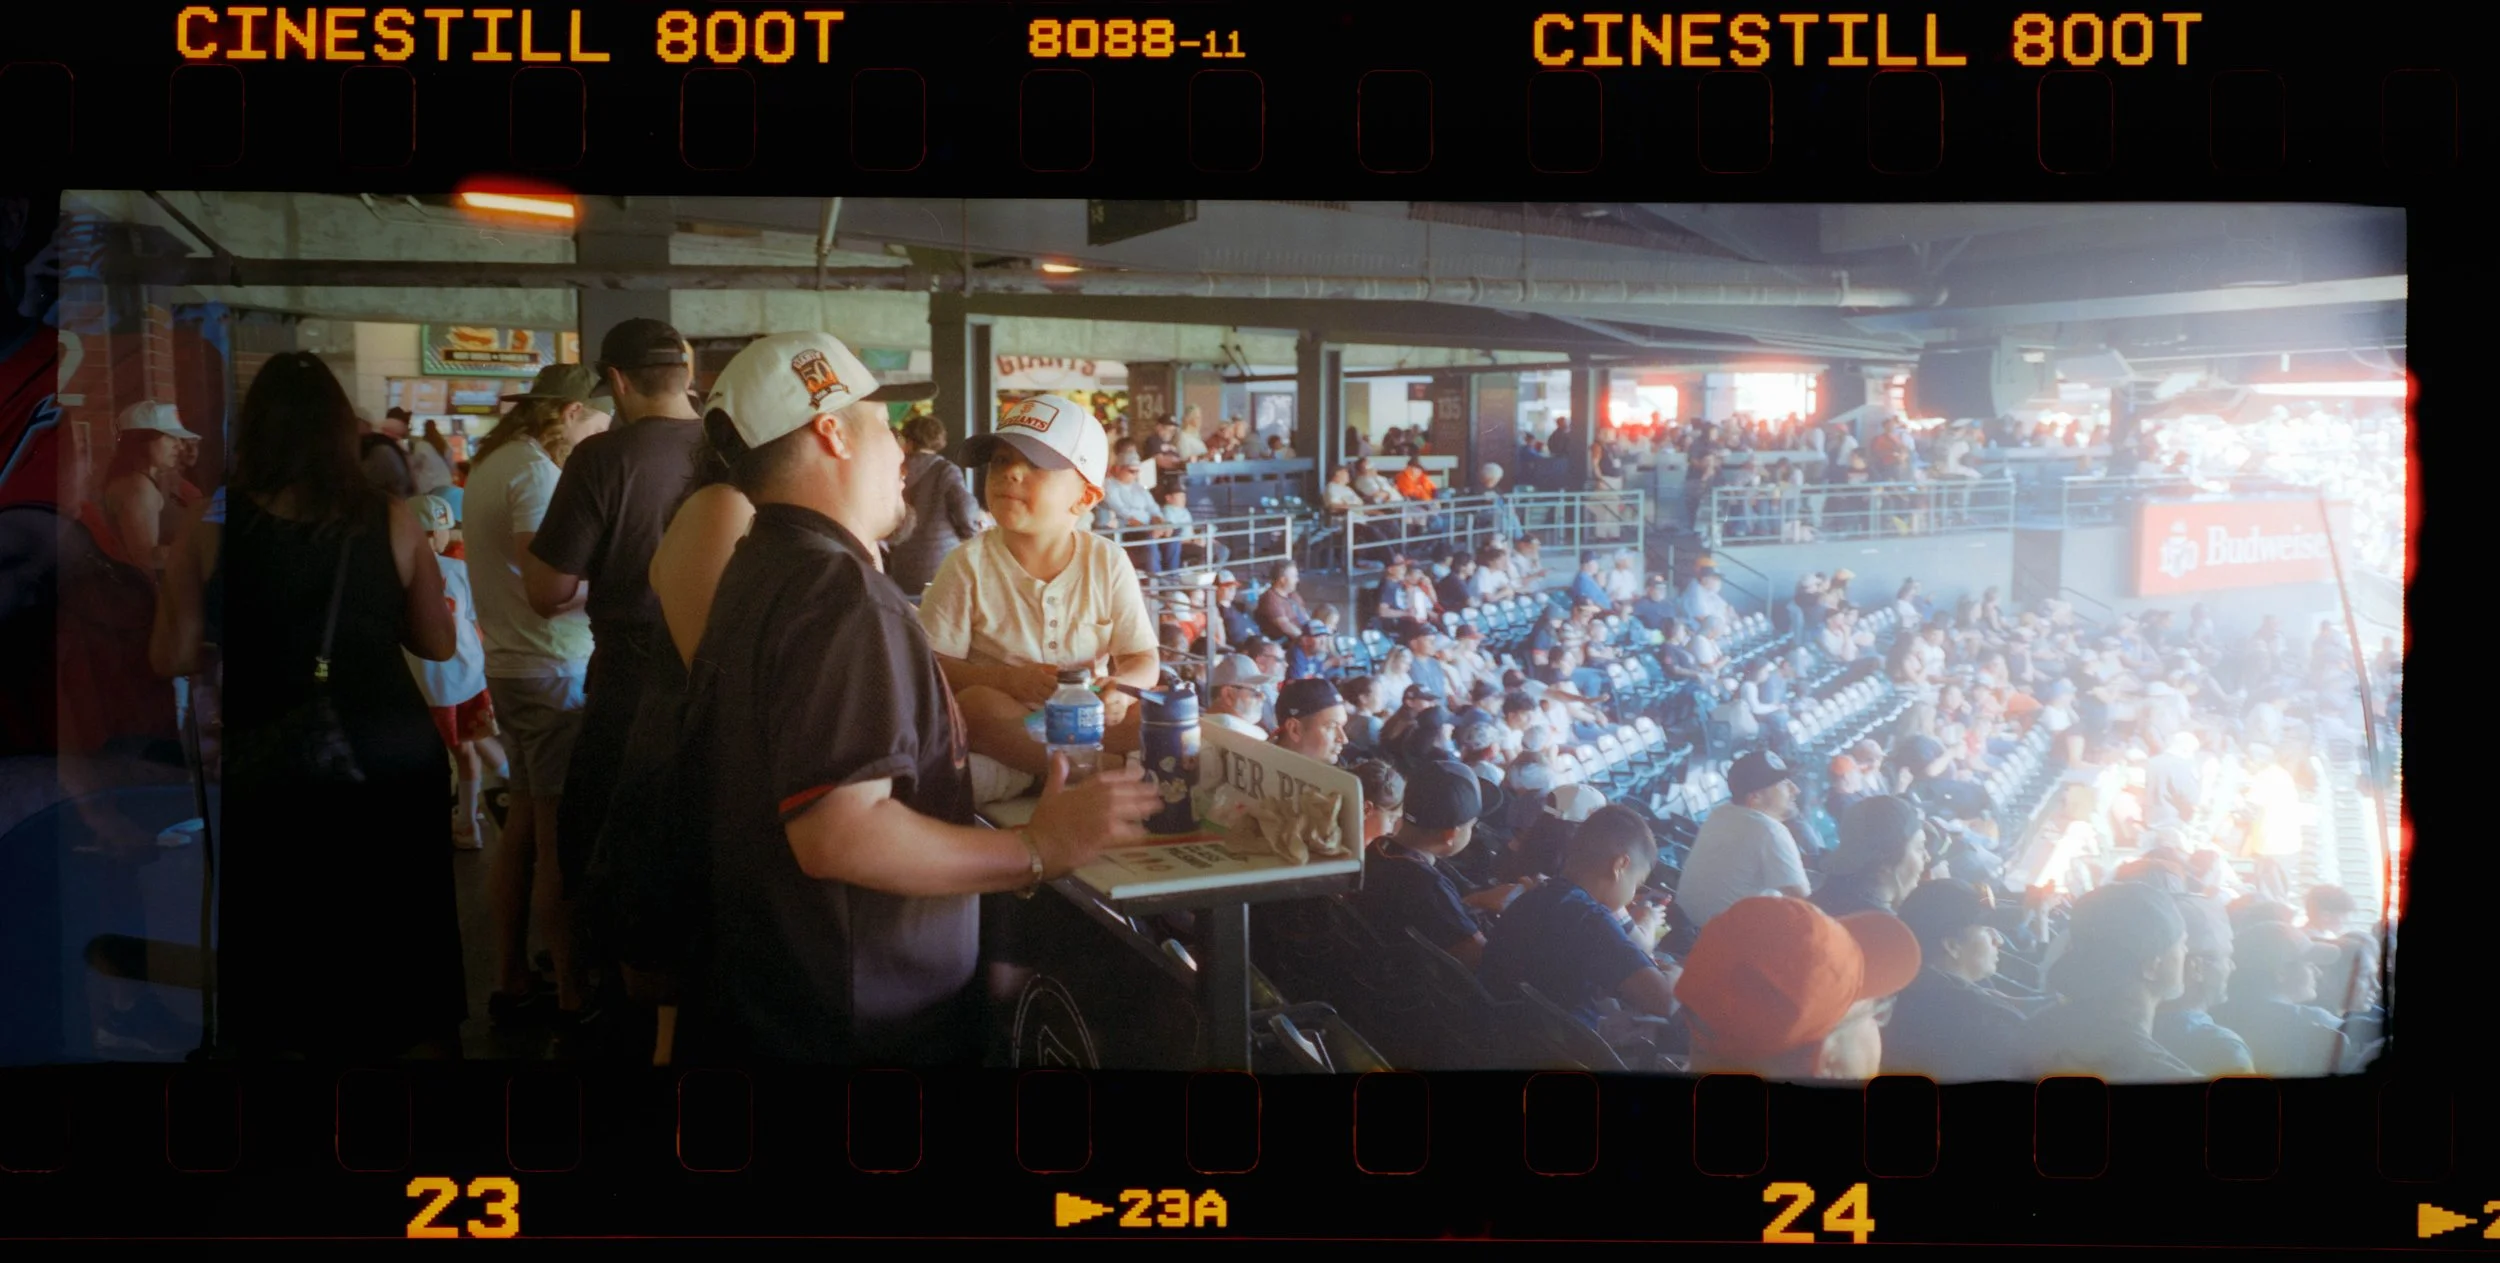
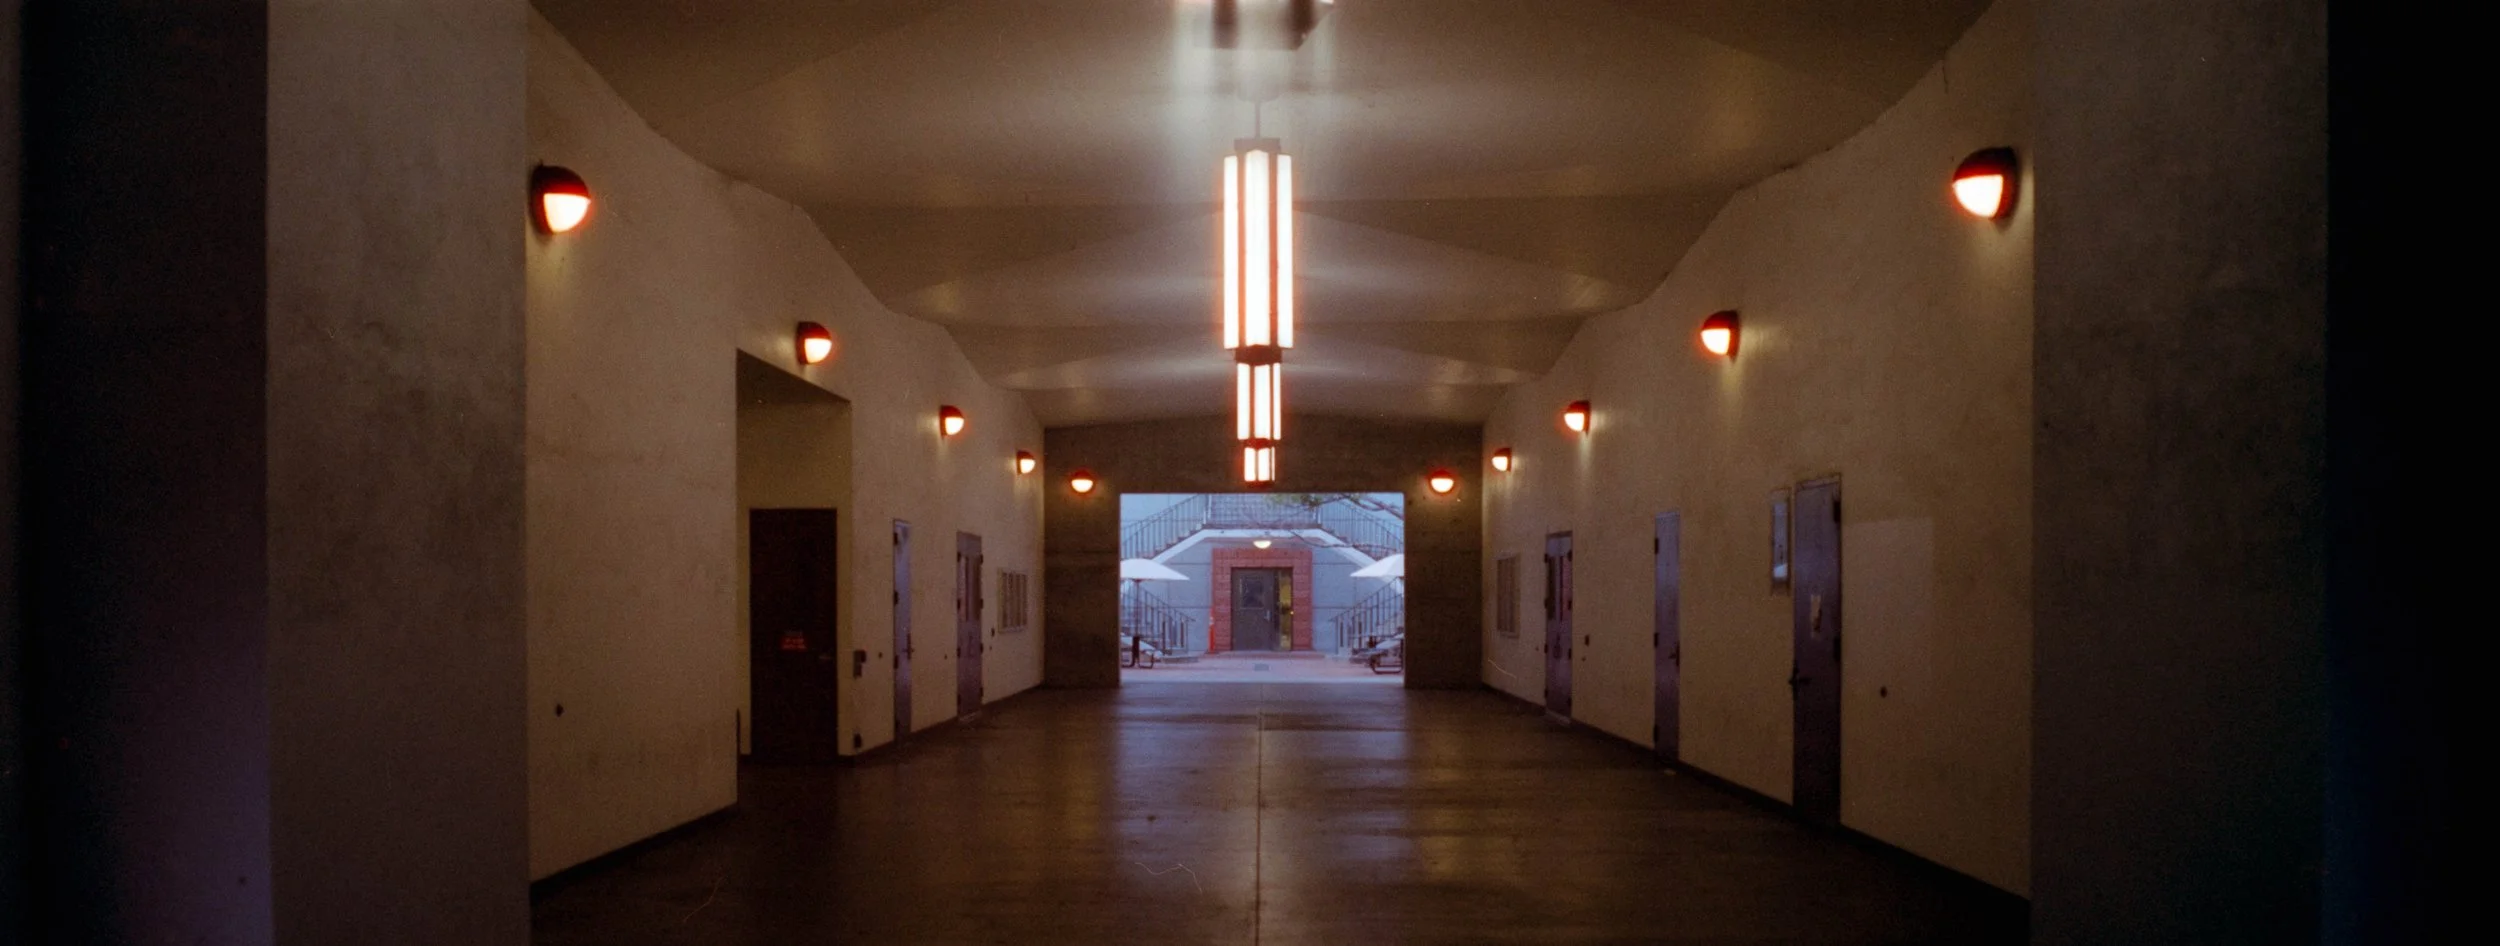
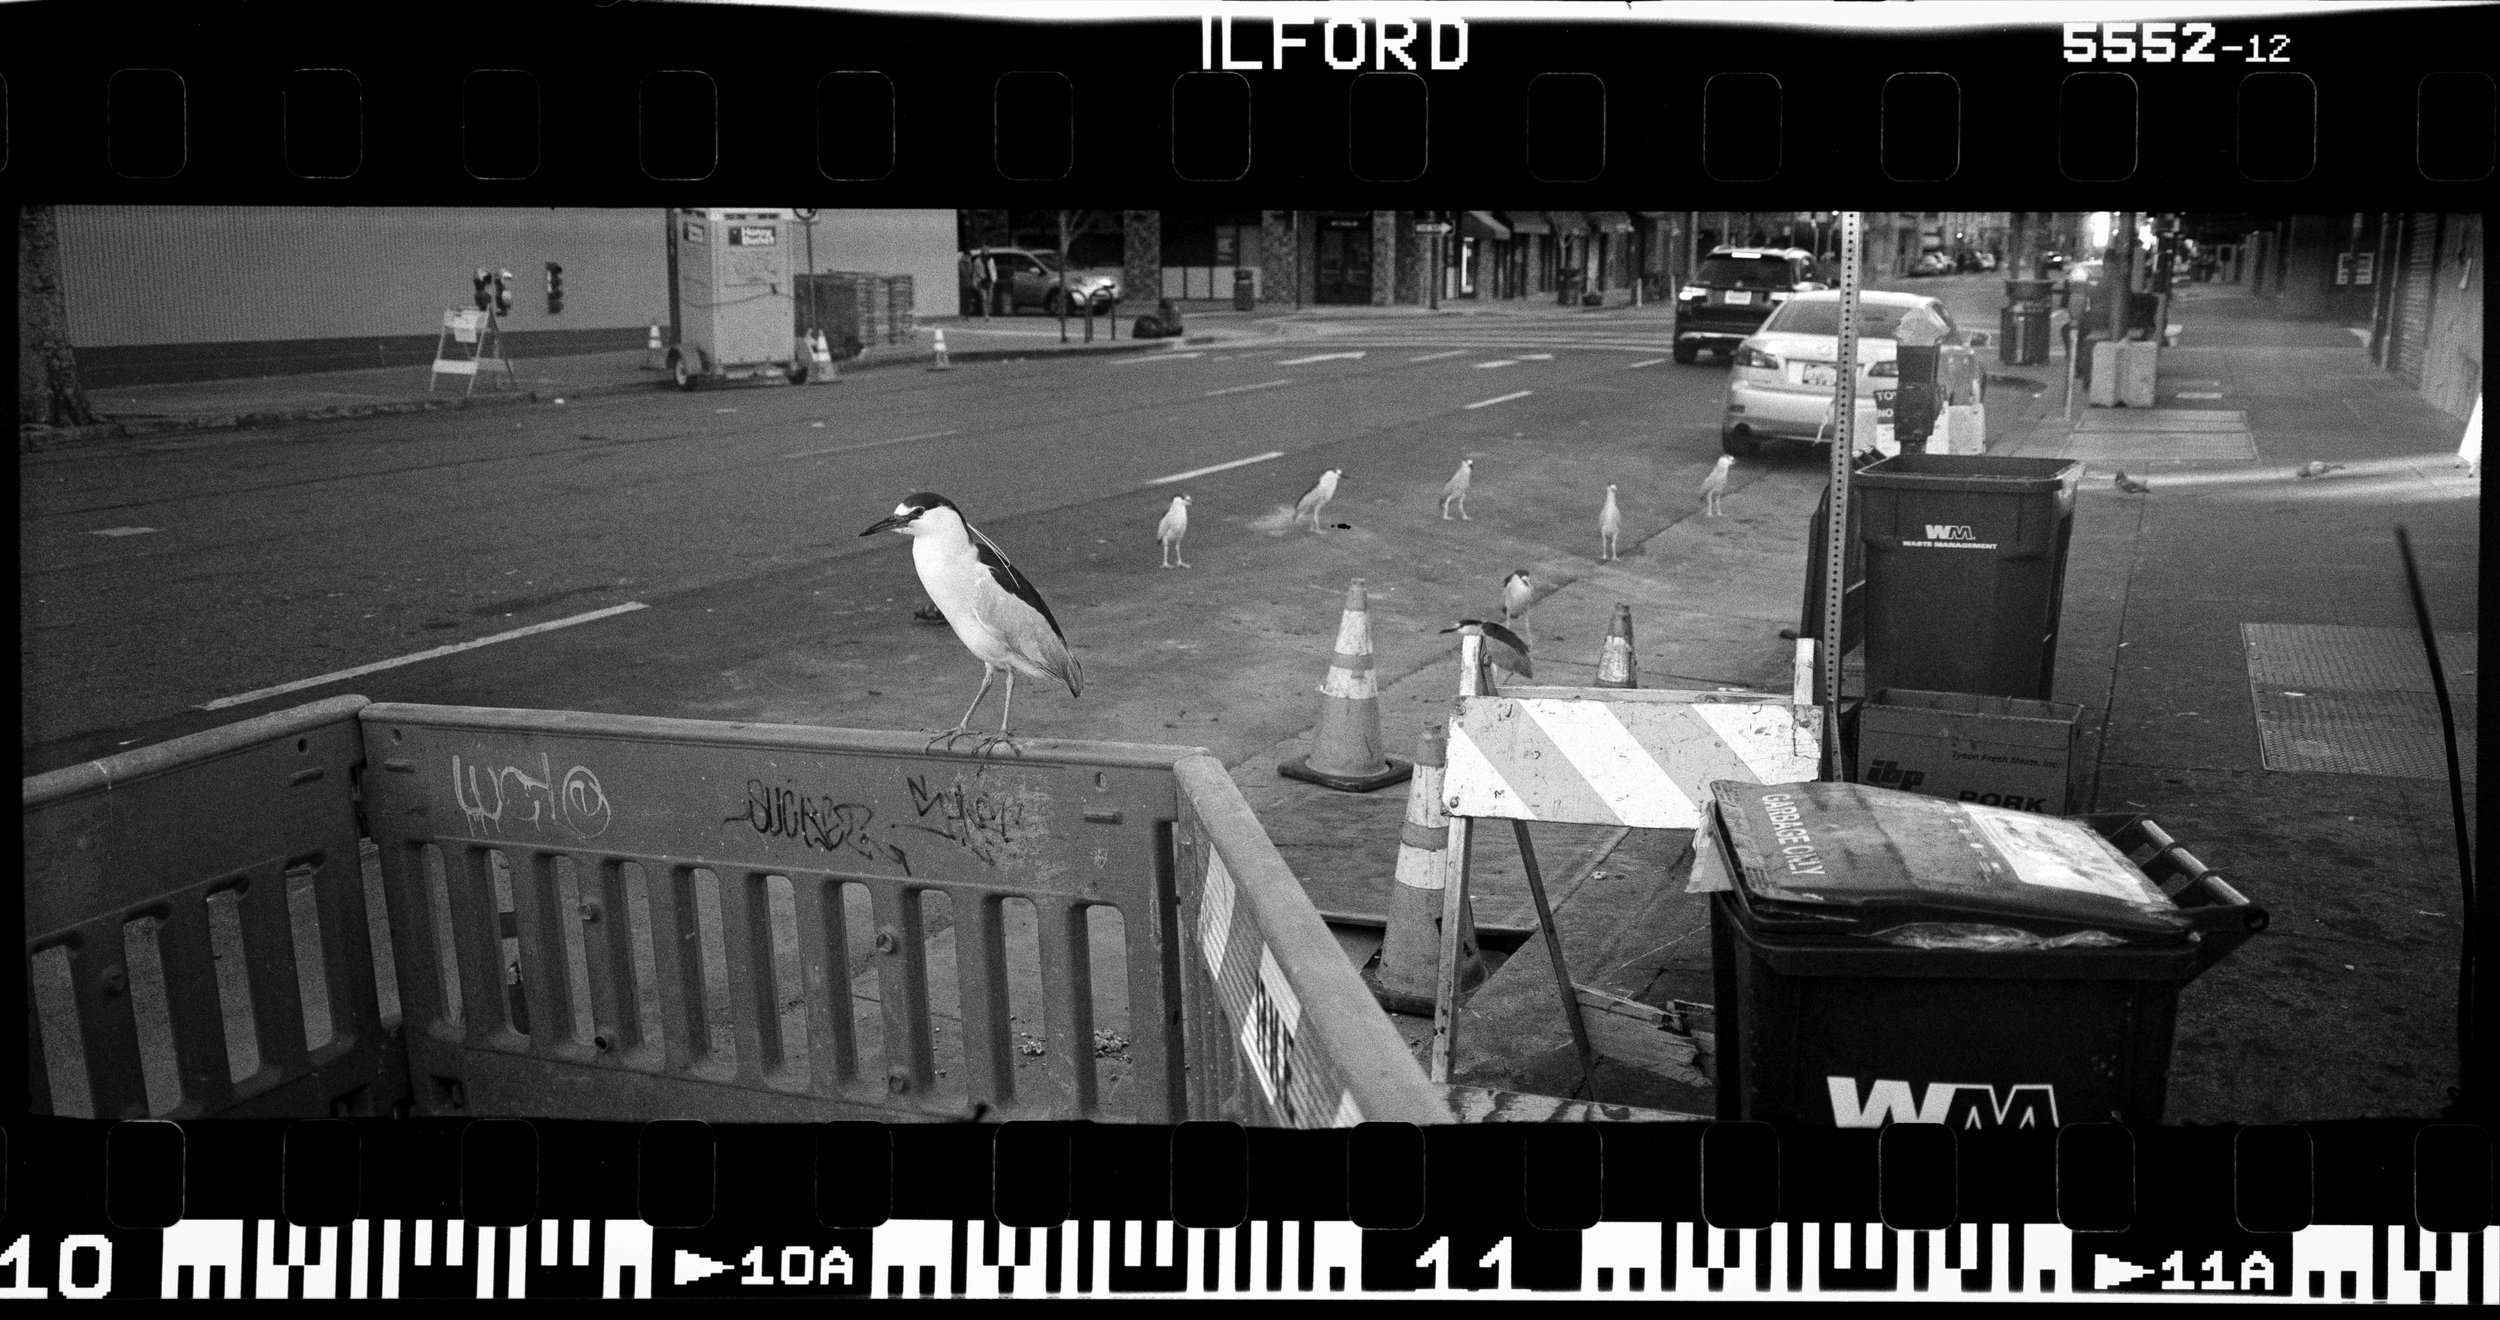
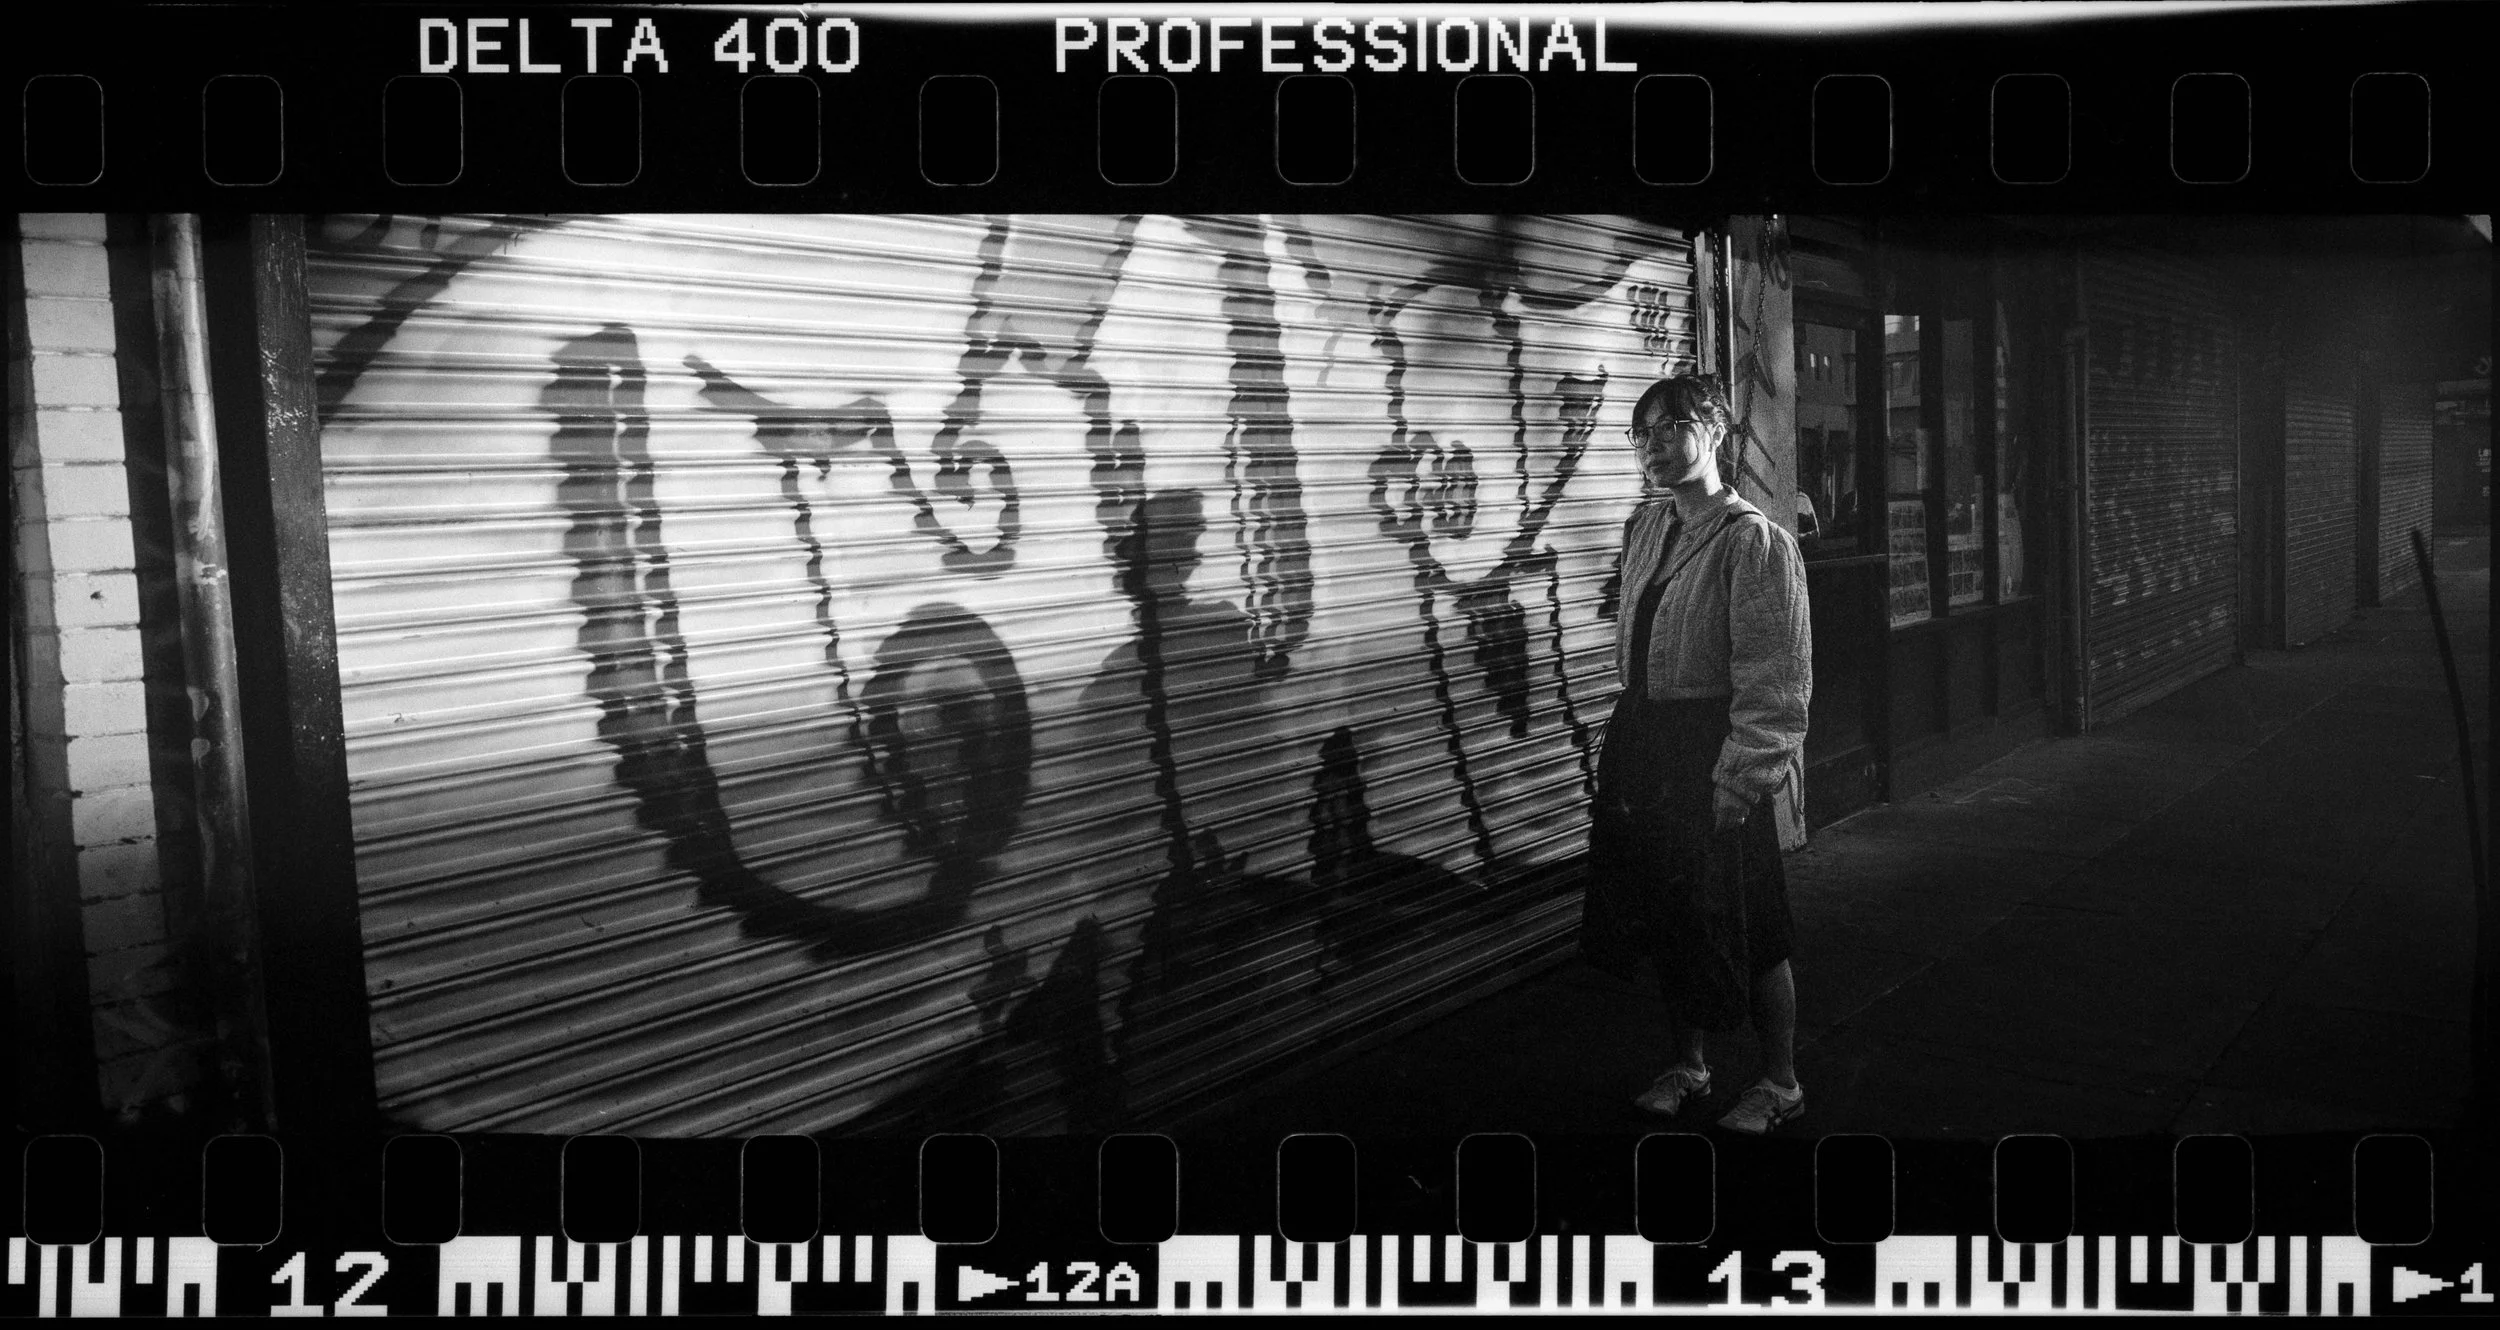
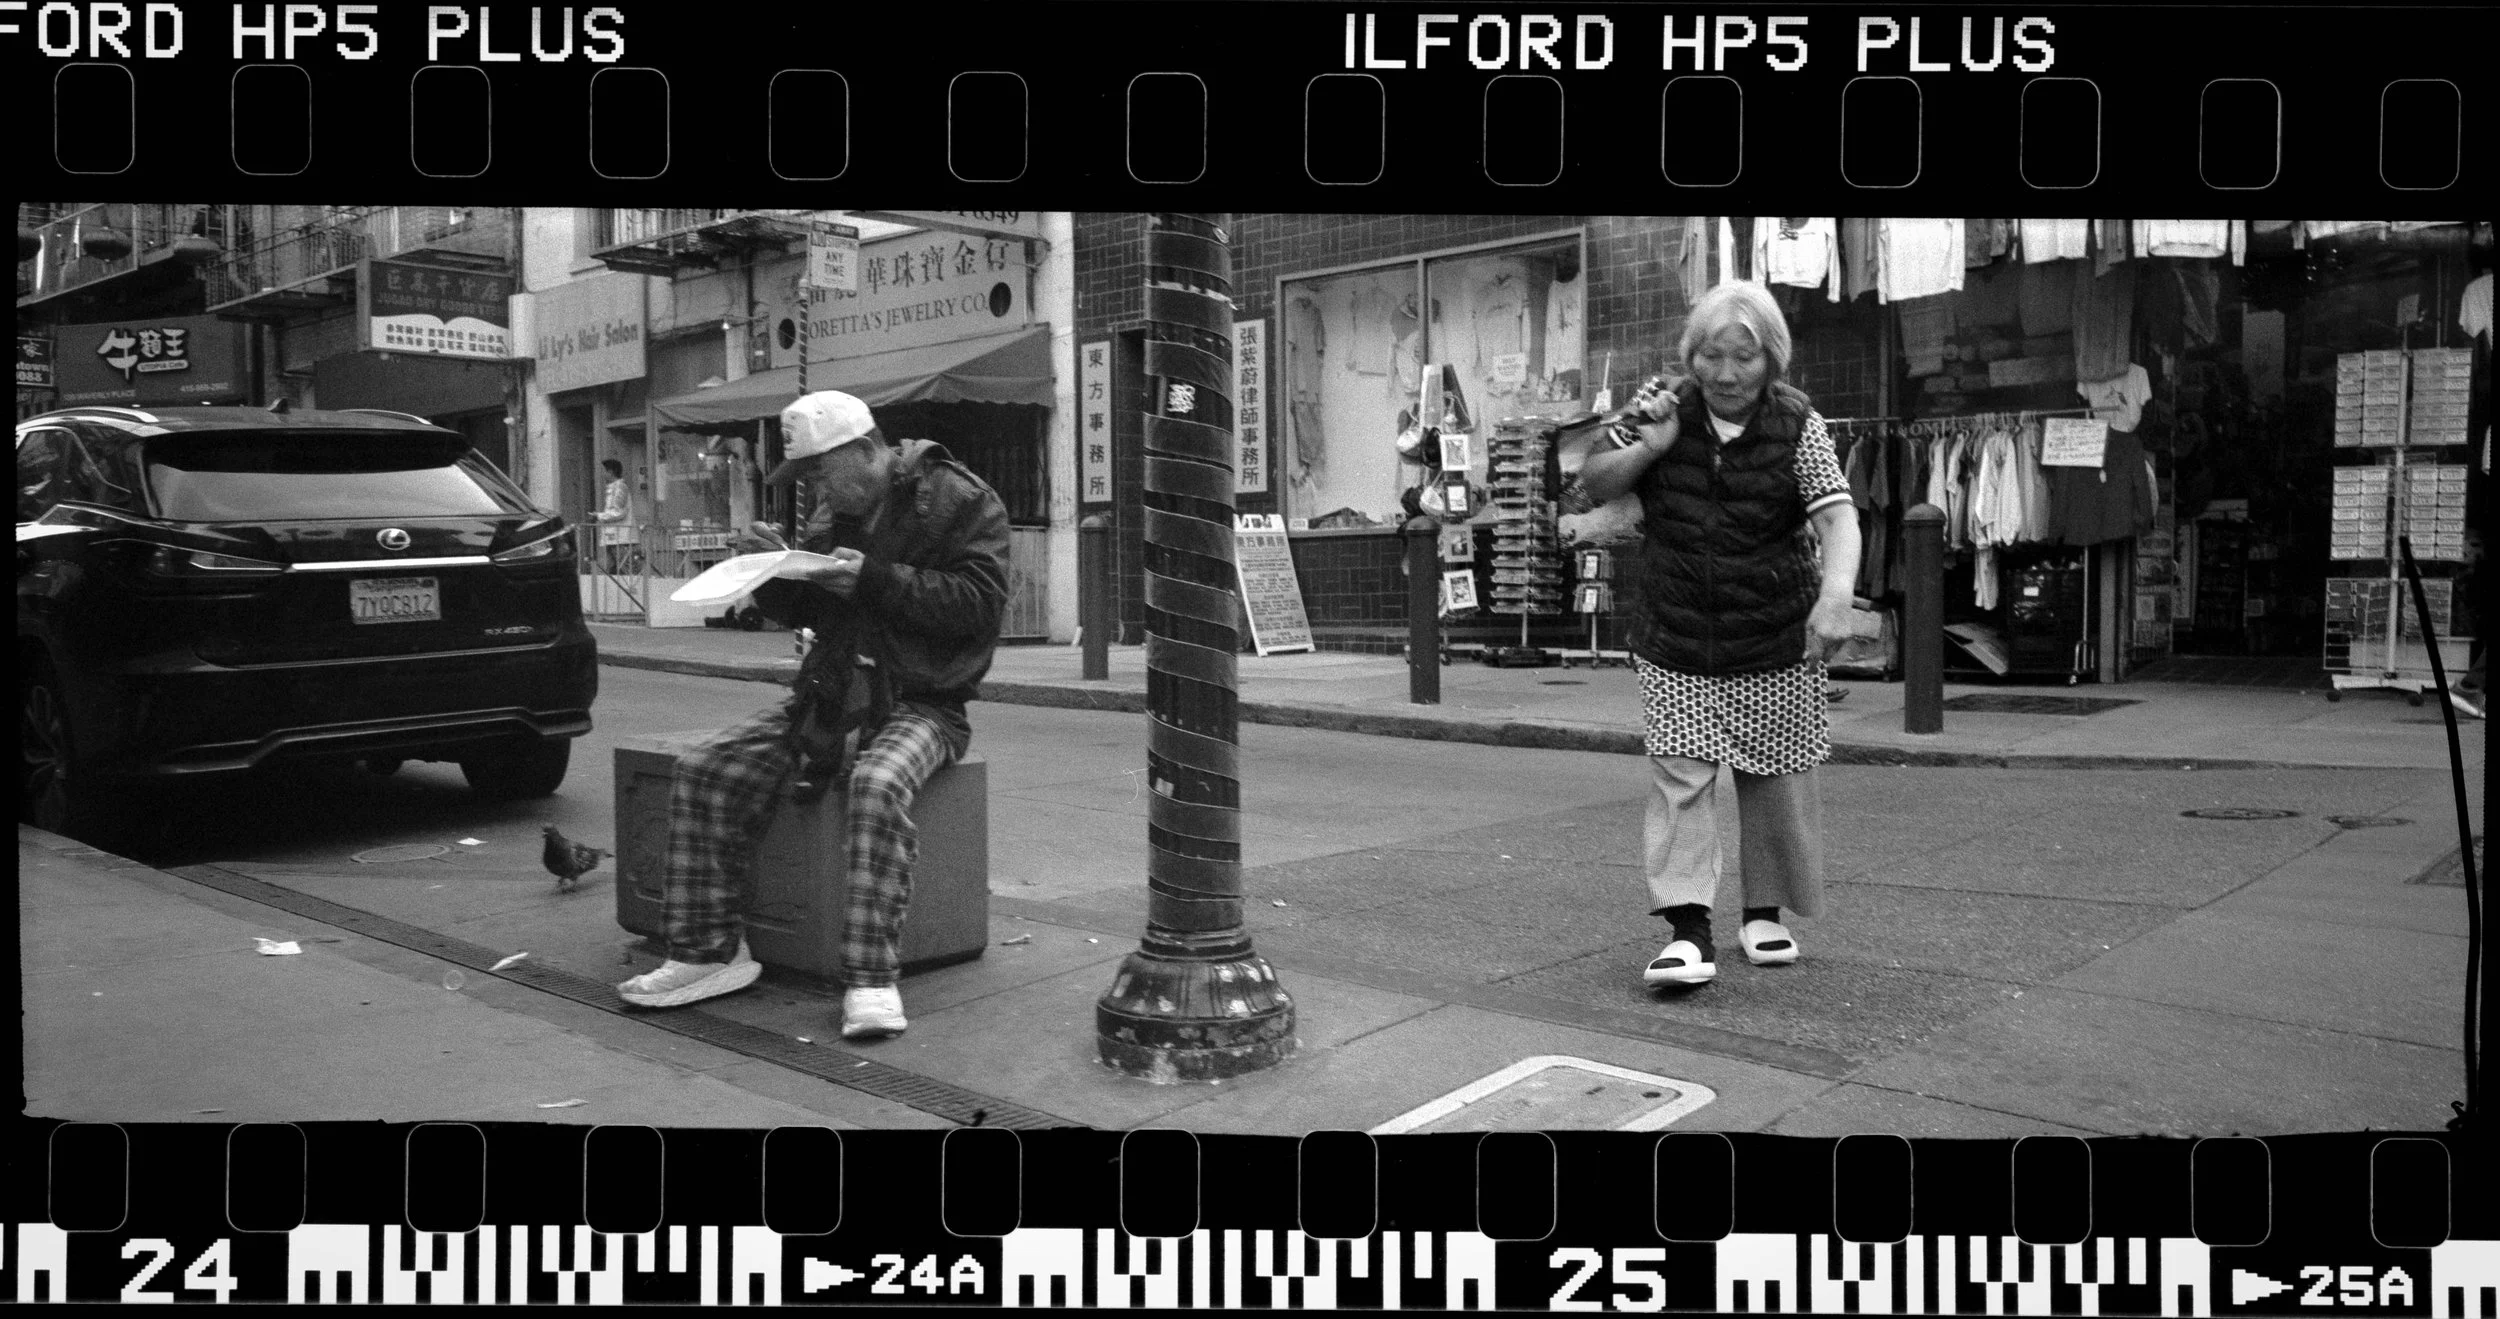
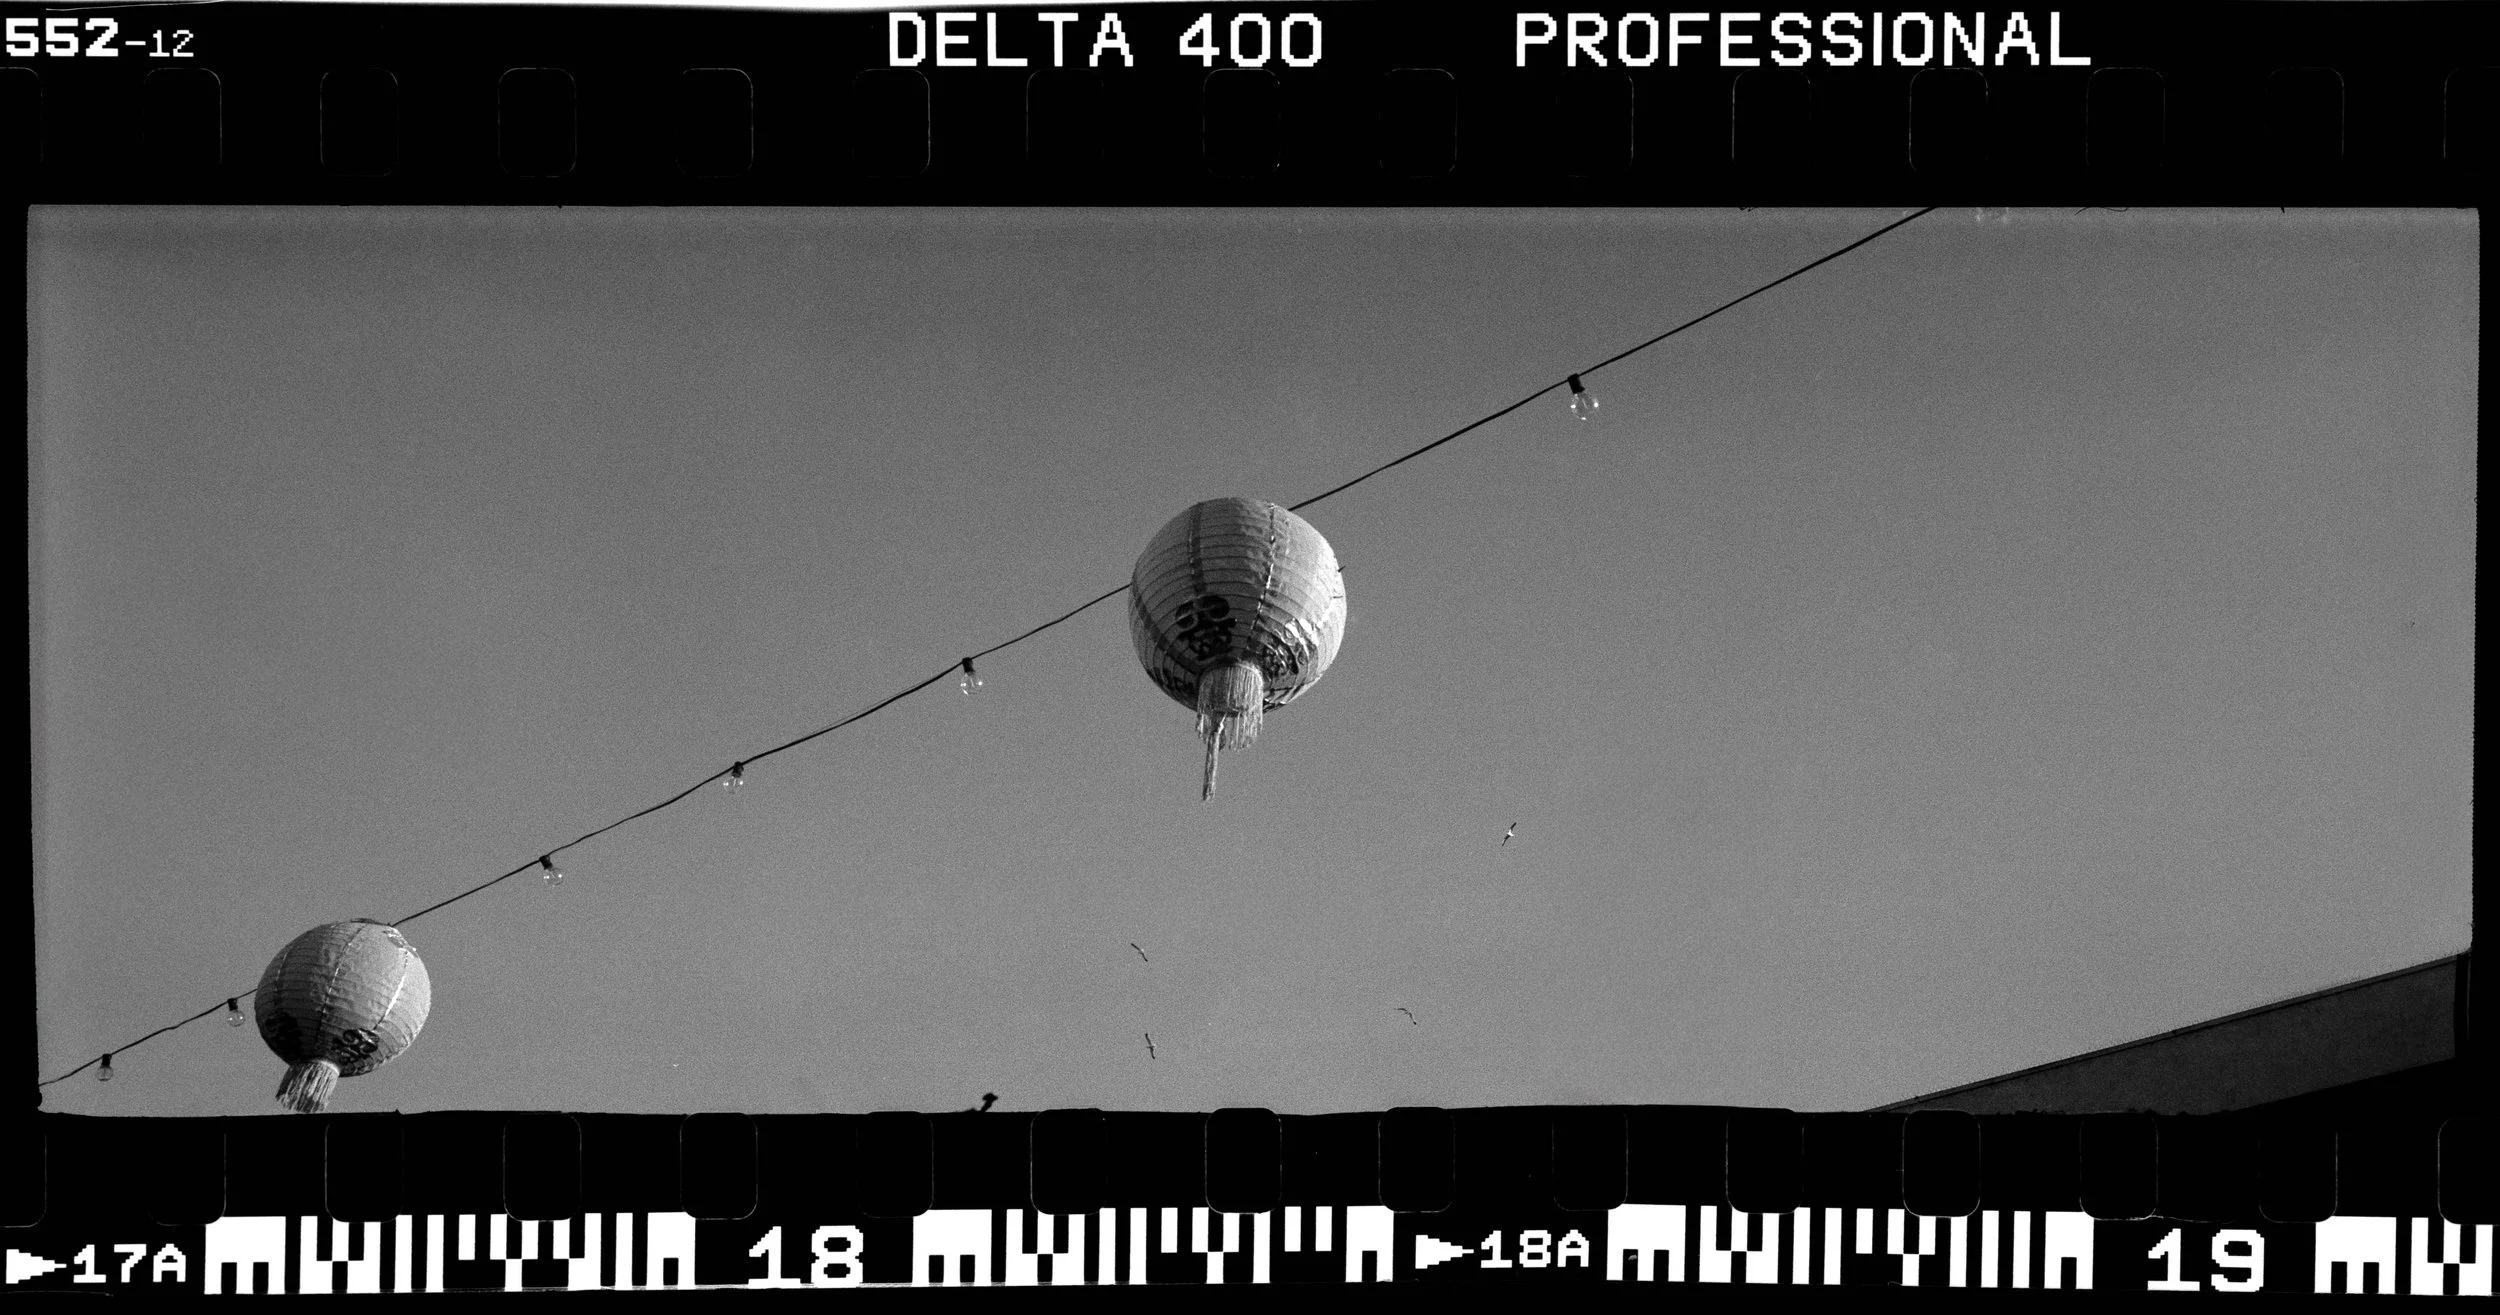
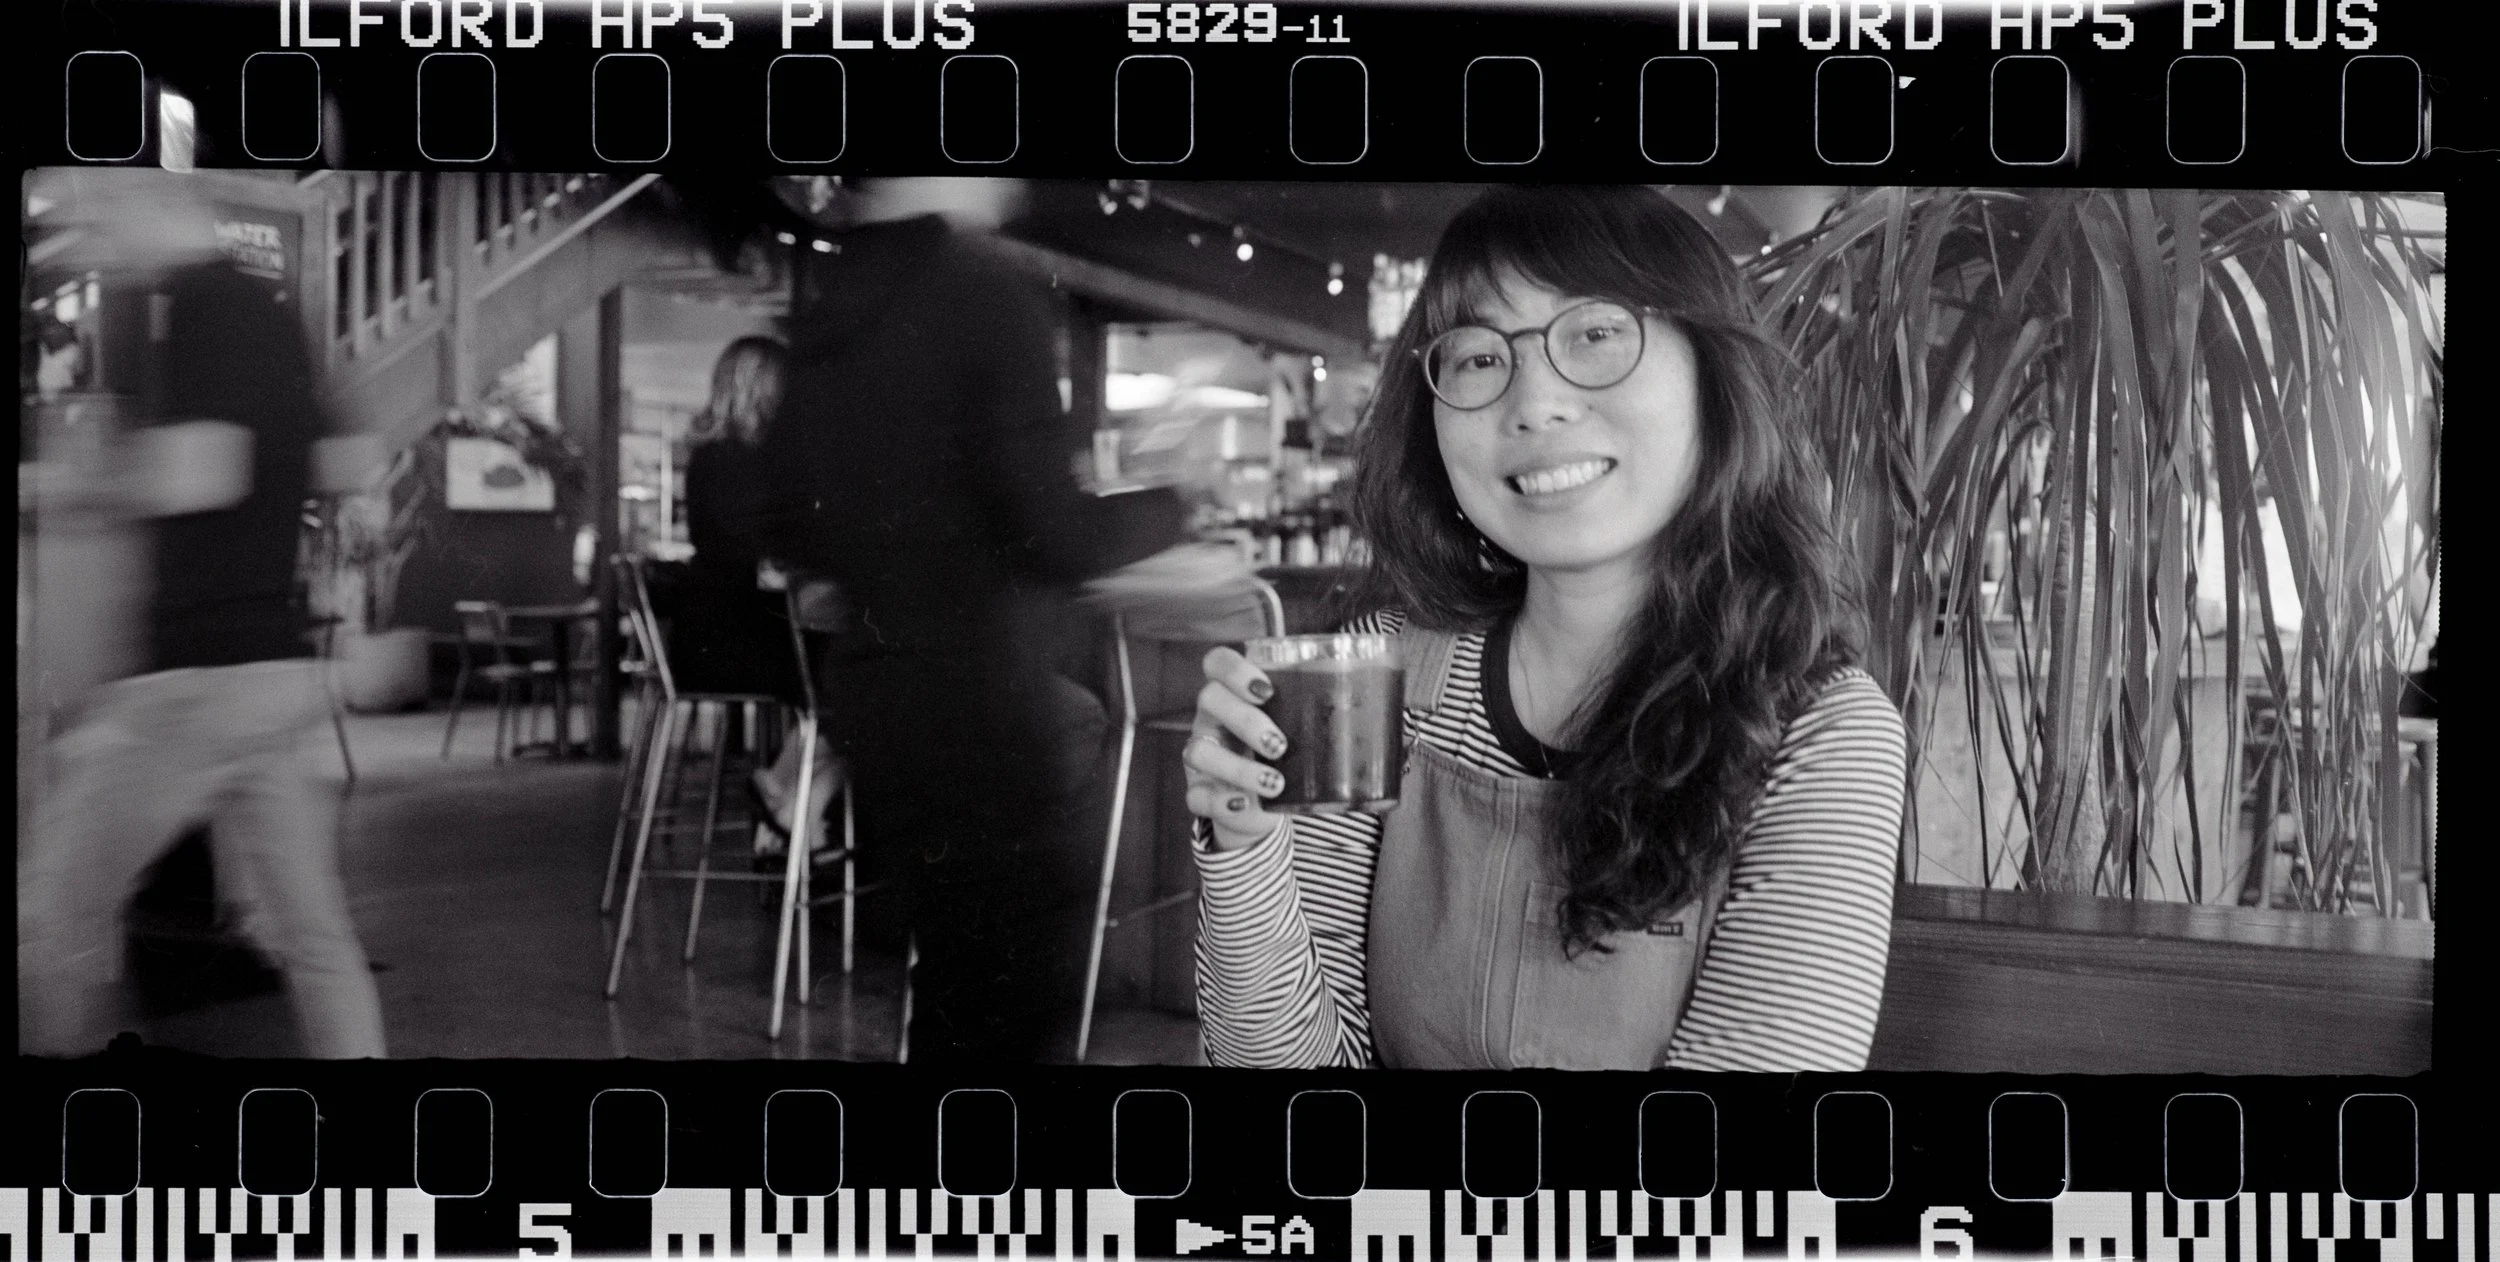
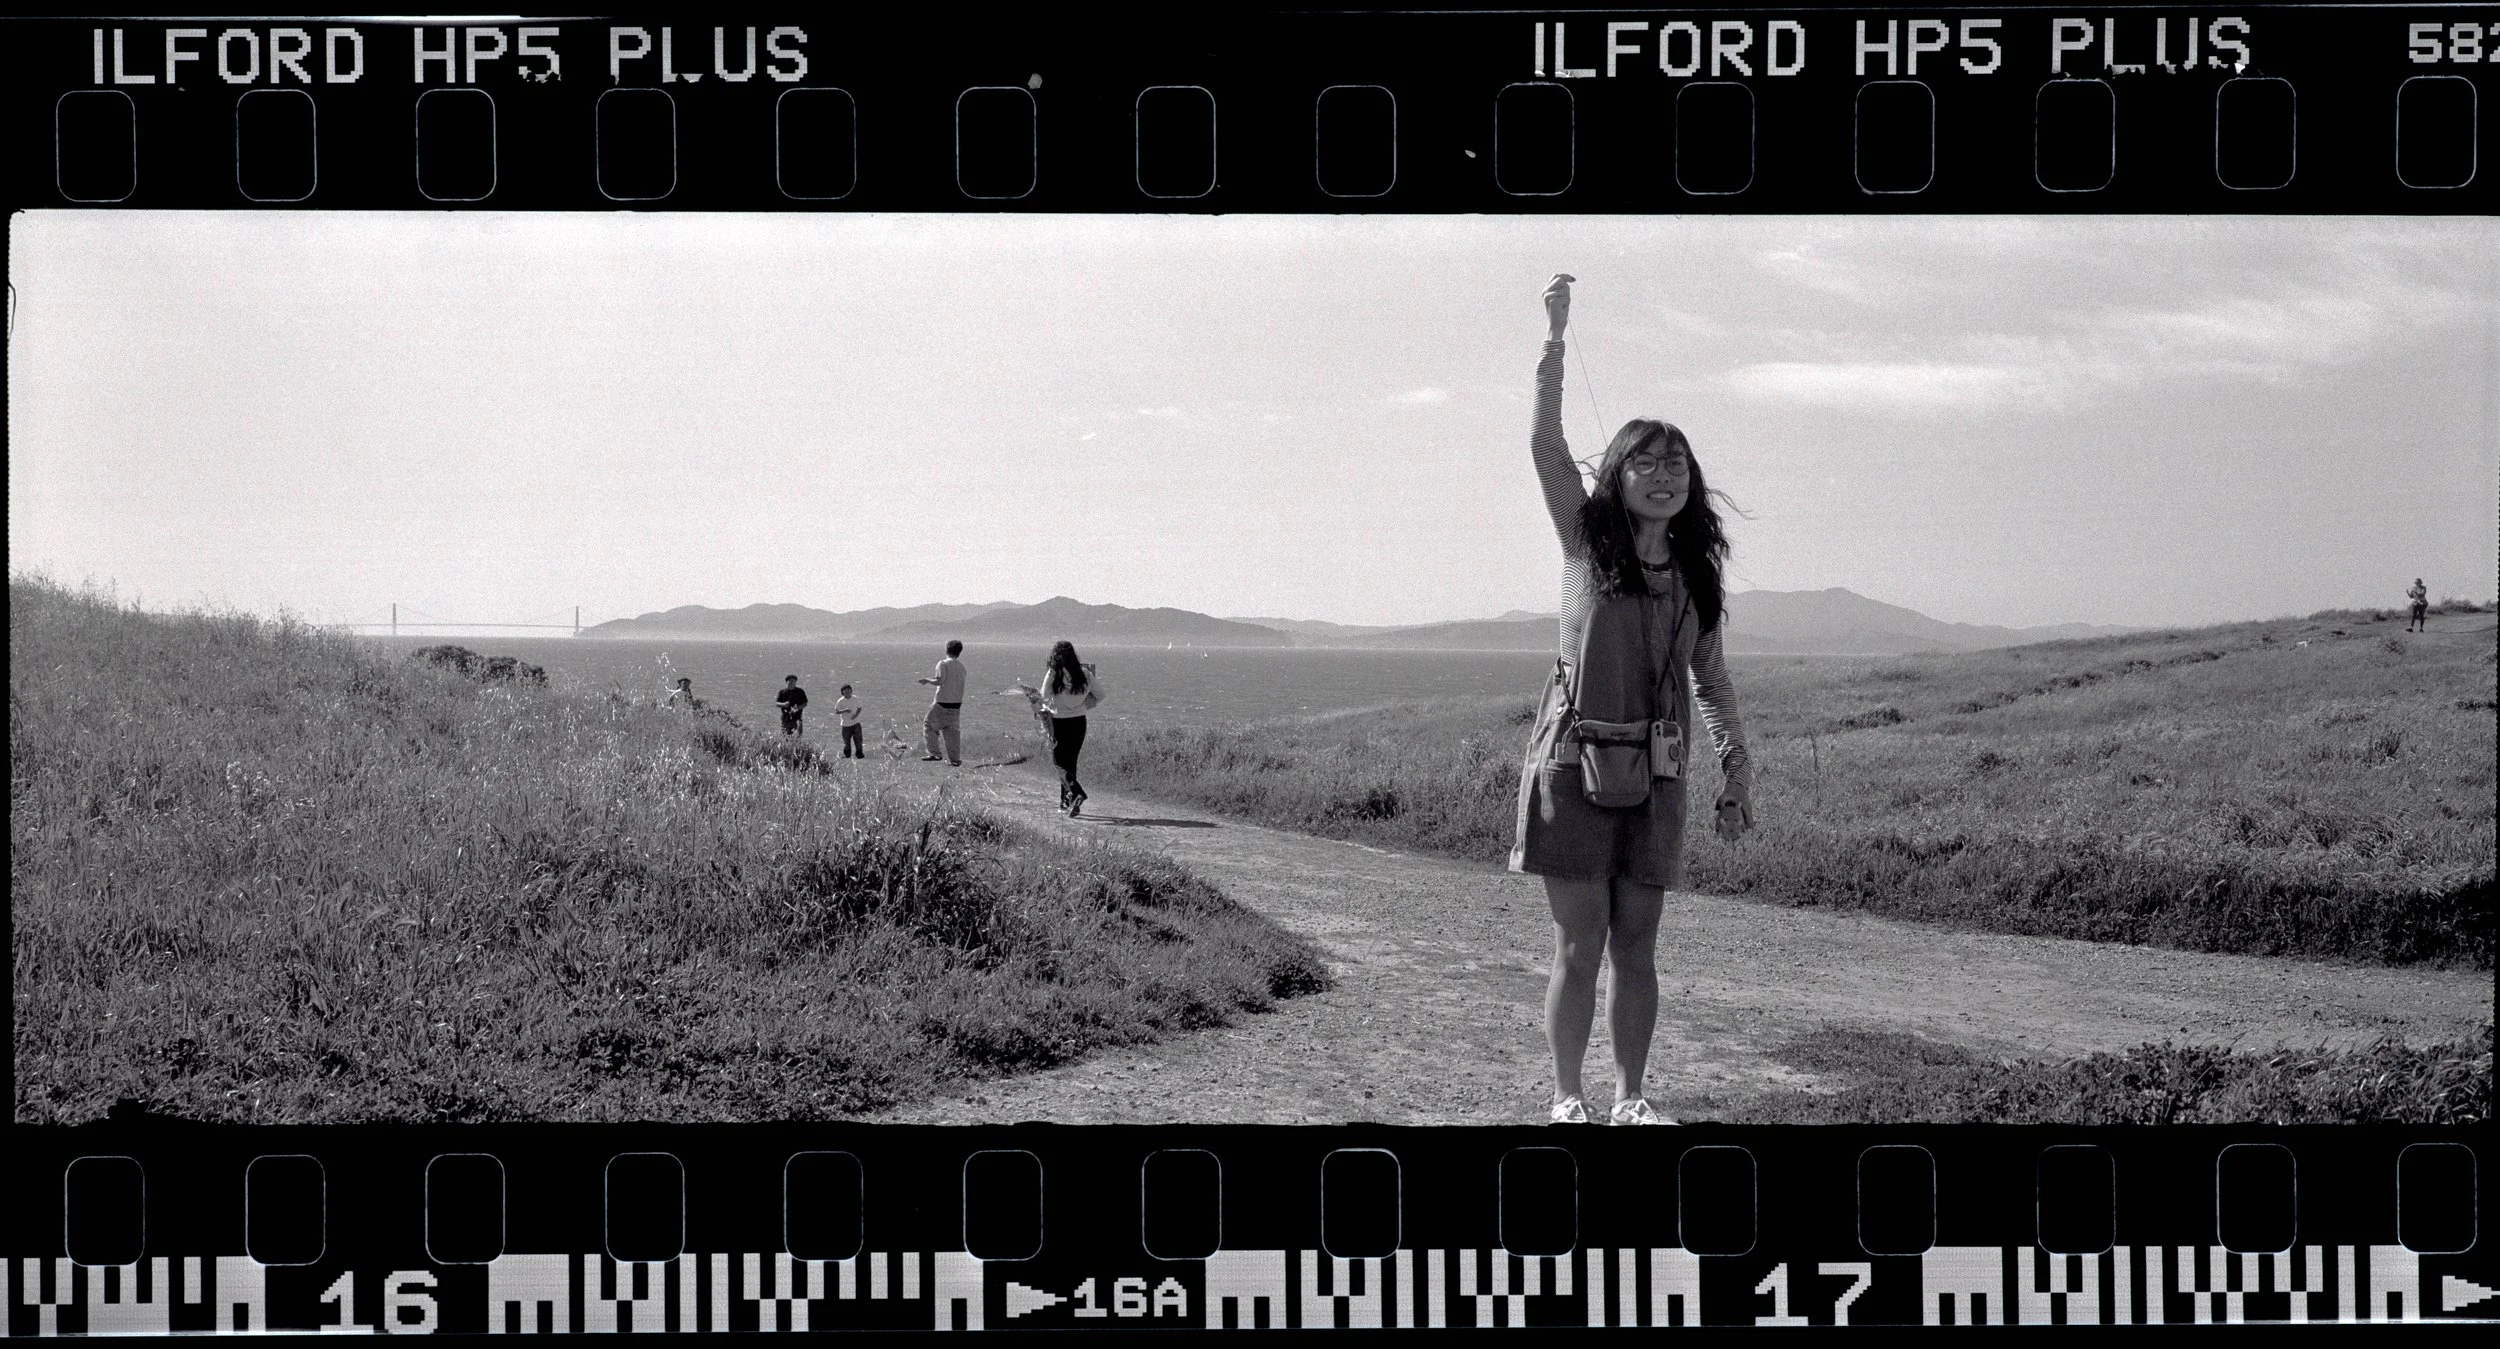
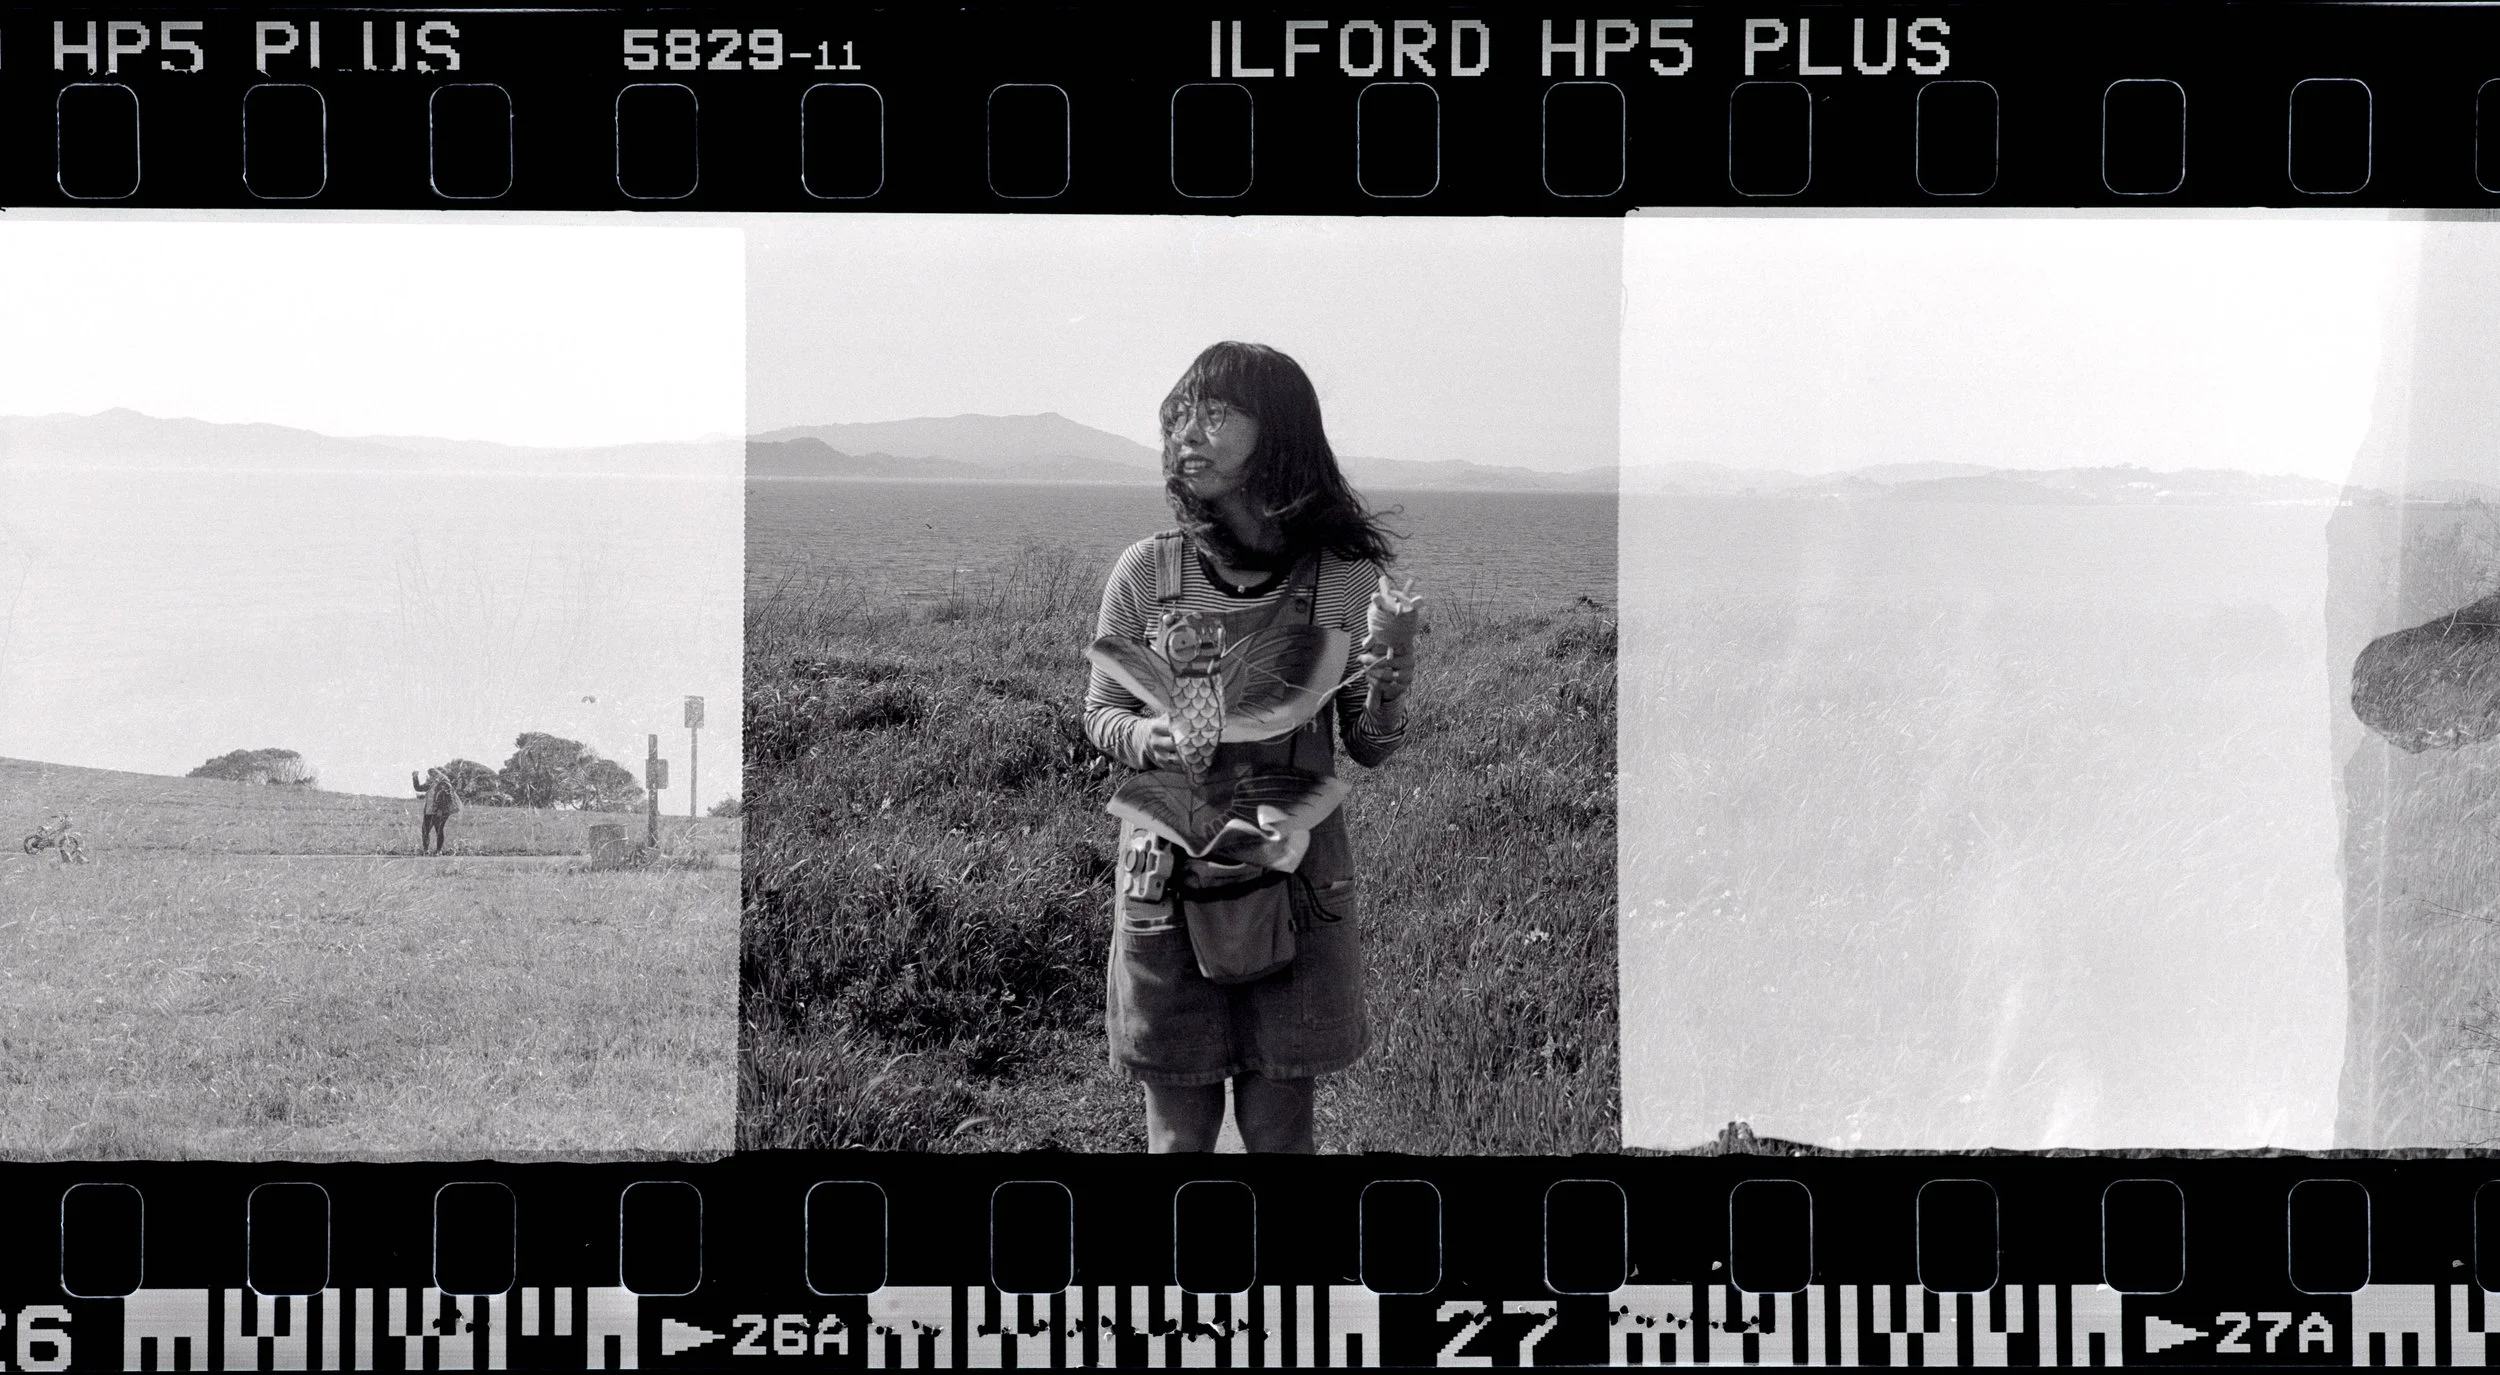
The images are appropriately the size of two 35mm frames put together. The 50mm Mamiya Press lens is rather sharp, but lacks low light performance, which I believe is the main thing holding this camera back as of now.
I’ve only had the chance to run a few rolls though this camera, but I want this page to be a living document, so come back later to see more images.
The Build
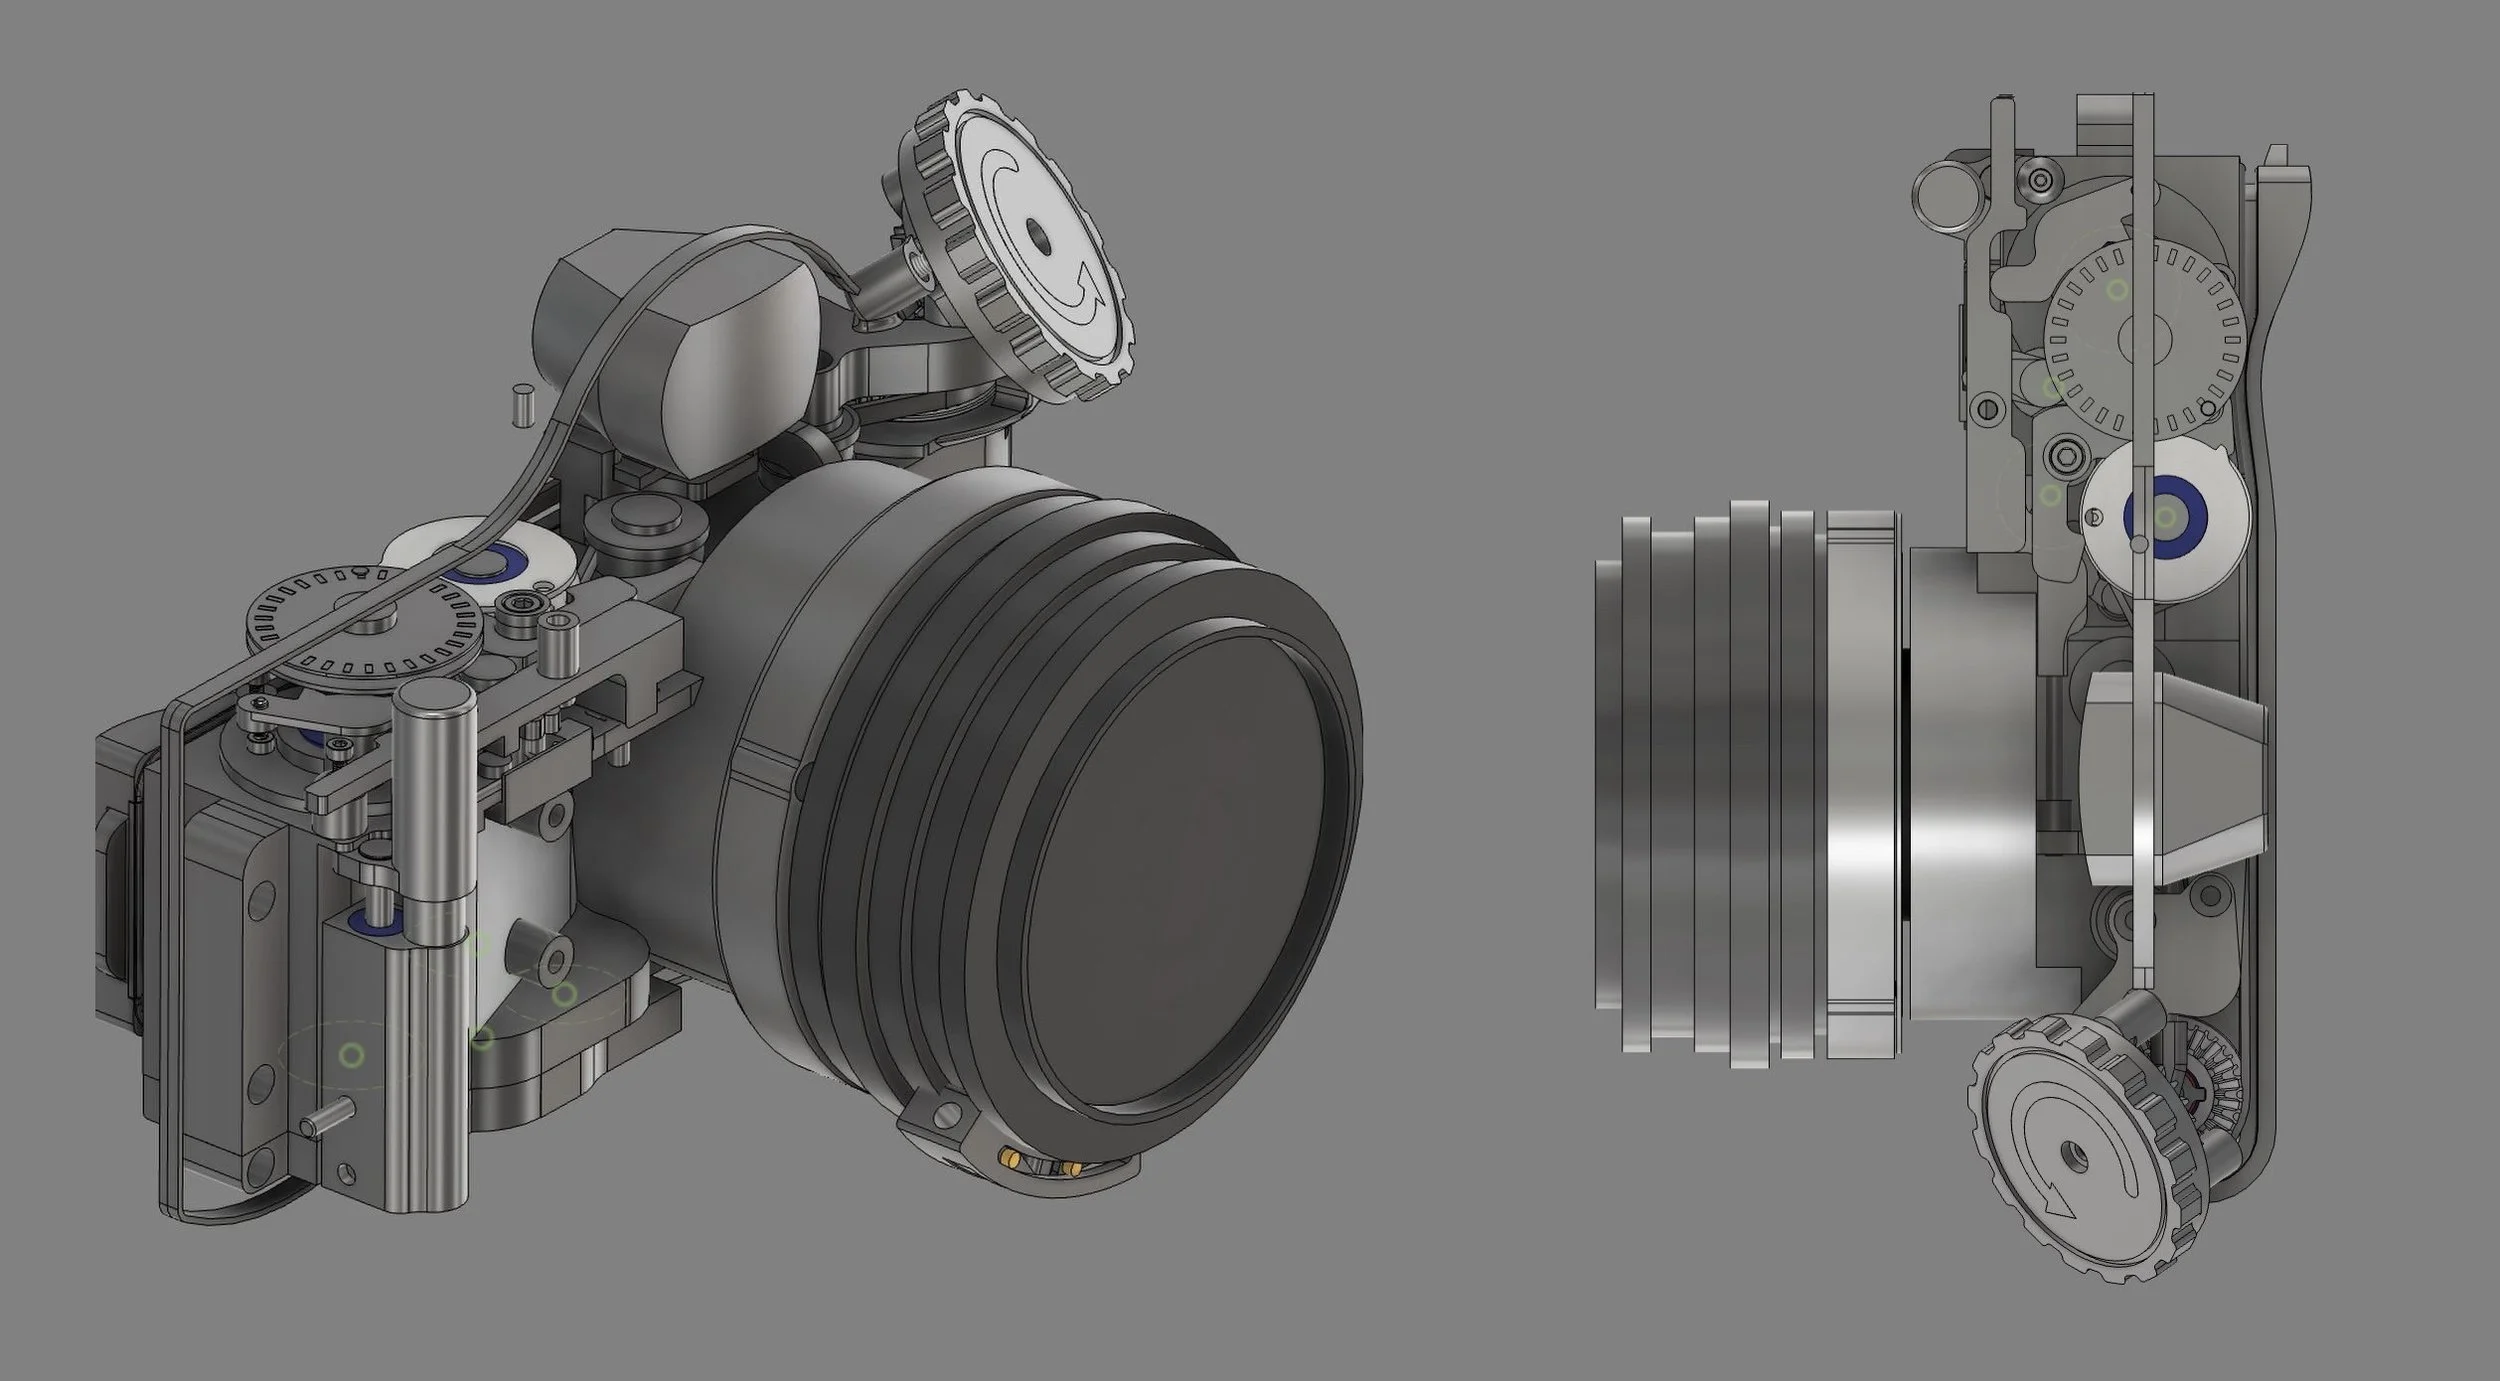
V5 introduction: The current iteration is V5. There are still numerous obstacles to overcome, and variations to work out, but as is the camera seems to work. The bulk of the camera is 3D printed but there are several components that must be purchased, including shafts, bearings, springs, belts, and screws. These are onto of the lens and view finder. This current design uses a rather nice, but pricy, Voigtlander view finder, that drives the total price up quite a bit. A future variant I want to introduce will use a much more affordable plastic view finder.
Known issues:
Occasional light leak from back door seal. This issues has not been consistent, but only showed up on one roll of film. For safety, I started taping the back door to limit the likelihood of a light leak.
Film bunching near end of roll. Near the end of a roll of 36 exposures, the film sometimes jams and causes frames to overlap. Because of this I recommend using 24 frame rolls. The issues could be caused by two possible issues, either the gearing needs to be changed to allow the makeup spool to keep tighter tension on the film, or more space needs to be made in the film chamber around the take-up spool
No tripod mount or camera strap mounts. These are rather obvious oversights made to hasten the initial construction for an event I planned to bring the camera to. But because of the way I designed the camera, I'm struggling to add them without compromising the rest of the deign.
Frame Counter jams: The frame counter is a floating spring loaded disk. There seems to be some interference I cannot easily track down between the counter and housing.
BOM
Various OTS competes are needed to make the camera work smoothly. I provided links when possible, but a few springs are harder to find. Most of these are parts I had laying around from other 3D printed projects.
| CAD Name | Description | Link | Quantity |
|---|---|---|---|
| Back Door Lock Bushings | 4mm OD Brass tube | Link | 1 piece cut into 3 sections |
| uxcell F688-2RS Flanged Ball Bearing 8x16x5mm | Link | 5 | |
| uxcell TC411 Thrust Needle Roller Bearings with Washers 1/4" Bore 11/16" OD 5/64" | Link | 1 | |
| uxcell 6703-2RS Deep Groove Ball Bearing, 10pcs 17 x 23 x 4mm Z2 | Link | 3 | |
| XIKE 10 Pcs HF081412 8x14x12mm Outer Octagon One Way Needle Roller Bearings | One way bearing | Link | 1 |
| uxcell MF63zz Flanged Ball Bearing 3mmx6mmx2.5mm | Link | 2 | |
| 280mm GT-2 Timing Belt | 6mm belt needs to be cut in half | Link | 1 |
| M12x16mm Dia. Steel Shim | Link | 2 | |
| M6 Threaded Rod 60mm length | Needs to be cut to 60mm length | Link | 1 |
| 4mm bushing | Link | 1 | |
| 92855A310 – 18-8 Stainless Steel Low-Profile Socket Head Screws | 92855A310 | ||
| 91292A831 – 18-8 Stainless Steel Socket Head Screw | 91292A831 | ||
| M3 Screw Set | Link | ||
| M6 Nut | 90593A005 | ||
| 95648A704 – Captive Pins (2) | 95648A704 | ||
| 3mm Brass Rod | Cut to various lengths | Link | |
| Tapered Spring | Link | 1 | |
| 9657K483 – Compression Spring | 9657K483 | 1 | |
| 0.5 mm (90 angle) + 1 lap (Left Rotation) + 8mm Torque Spring 304 | TBD | 1 | |
| Rewind Spring | TBD | ||
| Hand Bent Spring | Needs to be manually bent with pliers | 9495K14 | |
| M3 Threaded Inserts | Link | ||
| Cable Release | This part needs to be taken apart and assembled into the 3D prints | Link |
Camera components
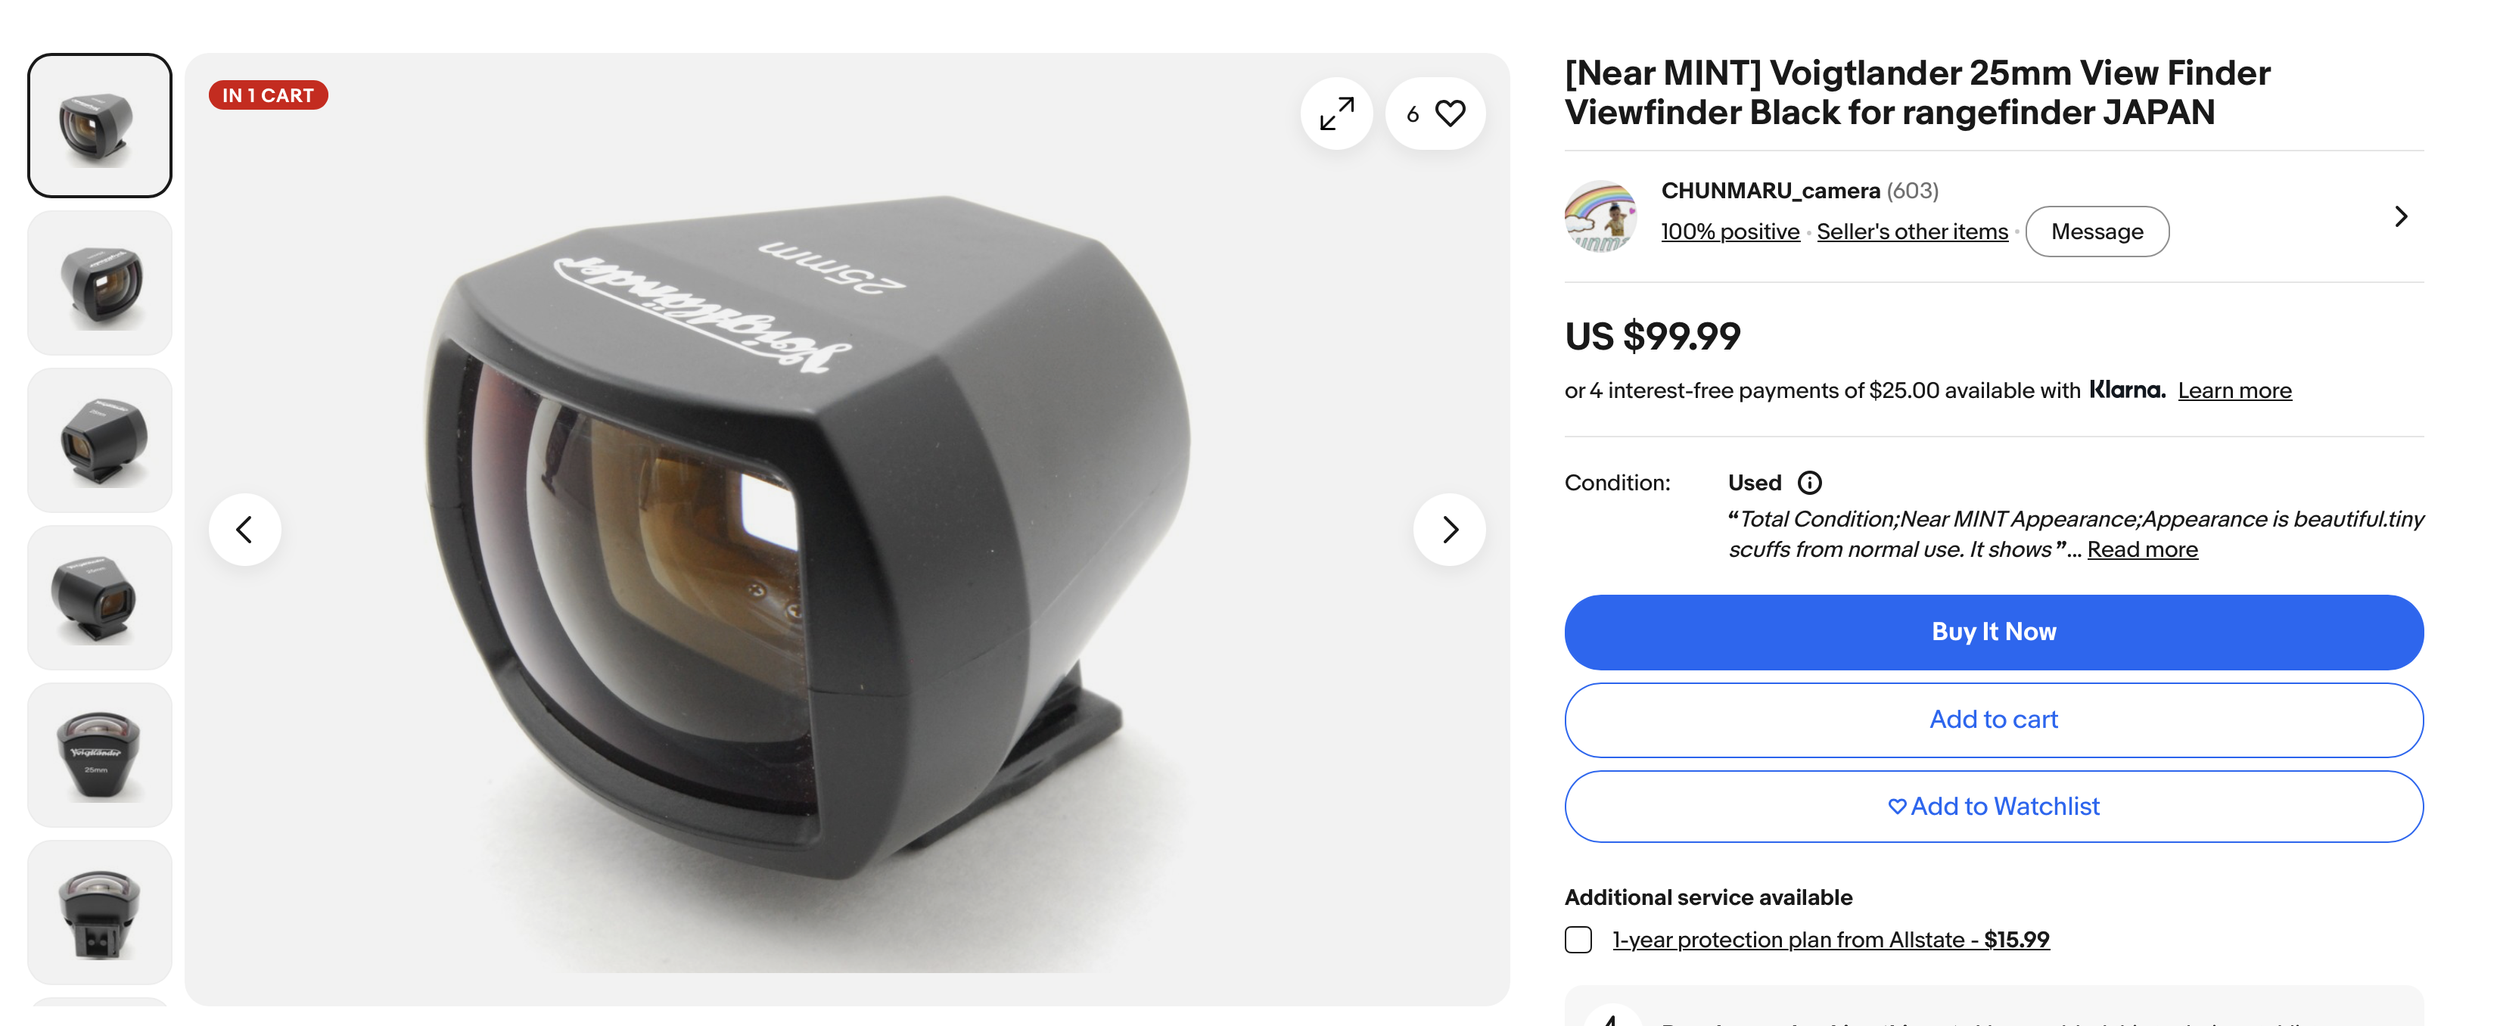
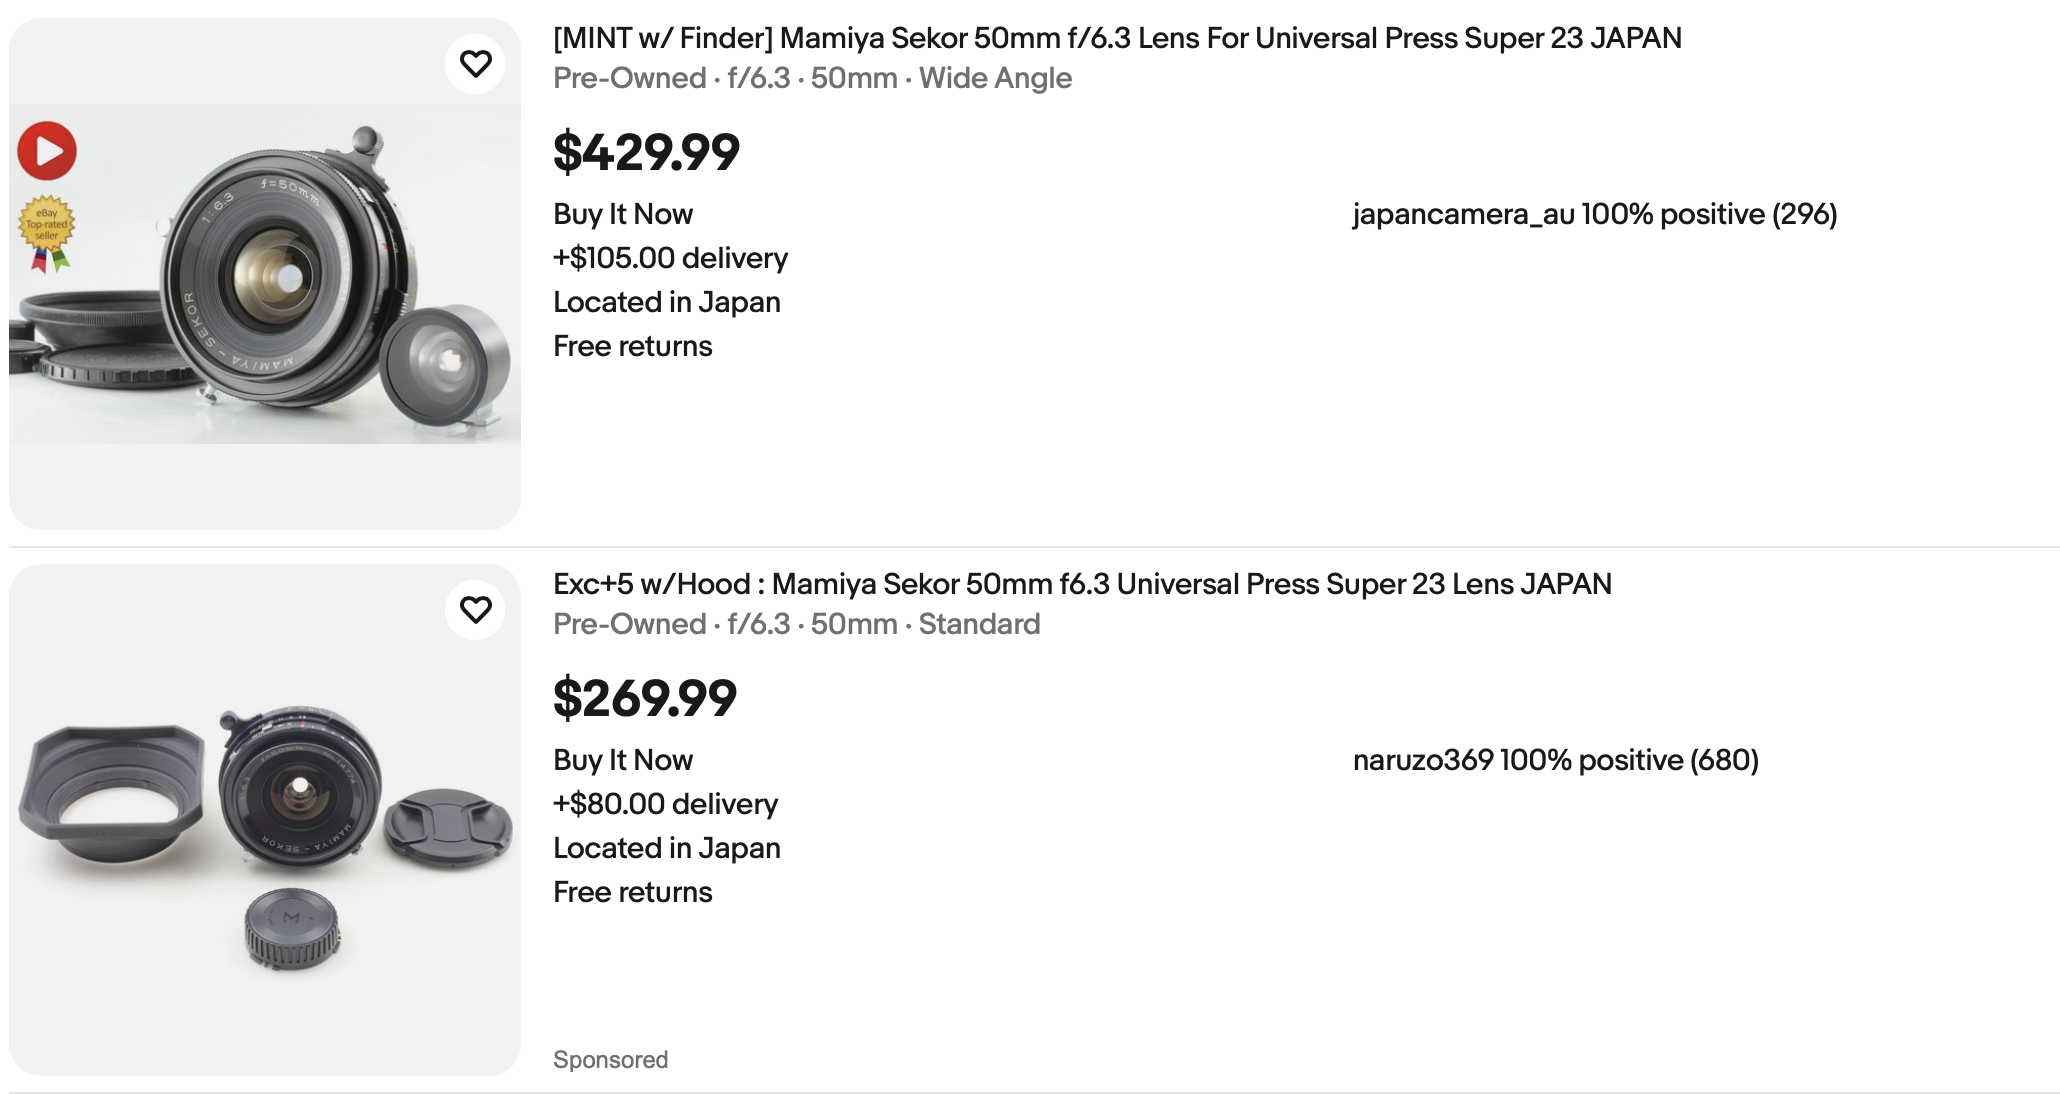
The other Main components that are required are the lens and the view finder.
For this version of the build I centered it around a Mamiya press lens I'm familiar with. There are currently numerous camera builds on the internet using this lens for good reason. It’s rather high quality, easy to find, and looks quite impressive. Cost is a consideration tho. Currently I would expect to spend between $300 and $500 depending on quality.
The viewfinder I had on hand is this beautiful Voightlander. Framing with one of these is a real joy. But that joy comes at a price.
Future options:
My friend and Tea and Tech Time has devised a way of controlling Bronica lenses. This opens up to a much wider range of even higher quality and more affordable lenses. I hope to expand the this lens system in a future build.
I also plan on creating a version that utilizes this view finder, to cut cost even more.
Printing:
I designed this camera to be printed on a standard FDM printer. I myself made all the prints with a Bambu Labs Carbon X1 and A1 mini using standard PLA.
How to use the file:
I believe offering the full CAD file for download will be the most humane option. Anyone who attempts this build will need some technical knowledge no matter what, and the likelihood of modifying the cad to suite the needs of each user is rather high. So instead of providing a rather long list of 3D print files, you can download a singular file with everthign as it needs to be assembled.
Any standard cad program should be able to open this file. I would recommend either Fusion 360 or Onshape.